 HarleyMotorcycleParts
Sportster Roadster (XL1200CX) Shocks for Riders Who Corner
This is the late Sportster people chose for bends. A lowering shock quietly throws away that reason.
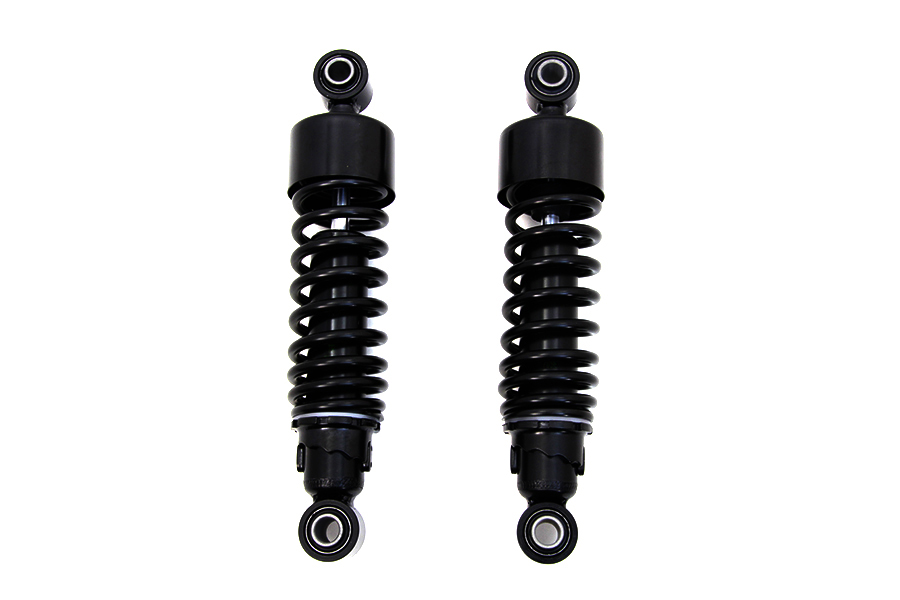
Low sells more Sportster shocks than anything else, and that is precisely wrong for this one. People bought the XL1200CX because it was the best-handling late Sportster, with upright bars and better suspension from the start. Bolt on a lowering unit and you lose cornering clearance and travel, the two things a cornering rider needs most. If you are replacing shocks here, aim for control, keep the height and leave the slammed look to other bikes.
Tools
- Sag-measuring tape
- Helper
- Notepad
- Correct SAE tools
- Calibrated torque wrench
- Stand under frame
- Service manual
What control asks of a shock
A rear wheel that stays on the road gives you grip. That depends on damping that manages each bump, a spring suited to your weight, and enough travel left to absorb a mid-corner hit. Comfort usually comes along as a side effect, not as the target.
You should expect any replacement to be judged against a decent original. Check for leakage or loss of control before assuming yours are finished, because this model came with upgraded suspension from the factory.
Do you carry a passenger? Weight changes this choice a lot, so be honest about how often that happens and what it means for preload.
Length and clearance on a bend
Lowering the frame brings pegs and pipes closer to the road, which you notice first on a right-hander or left-hander you know well. Going taller has its own consequences. It can change the feel of the steering, your belt reading and the bike's lean on the side stand.
The default for this bike is the factory length, so check your manual for that figure. If someone is selling you a change, ask what it will do to clearance and do not settle for a vague reply.
Noting the current setup
Write down your preload settings and sag, using the same two measuring points, before anything comes off. Note any peg scrape marks. Those are your record of how the bike was actually being used.
You will return to these notes when setting up the replacement, and they tell you whether a change has genuinely improved anything.
Add a line describing how the rear behaves on the bend you ride most. Memory flatters new parts. Written notes from before the swap keep you honest about whether the money improved the bike, or just made you feel it did.
Stand, straps, block
Put a stand under the frame and raise the bike until the back wheel carries nothing. Place a block under the wheel for fine height control. Keep clear of the exhaust. Check it with a firm push and strap it if there is any wobble.
Lay rags over nearby paint and pipes. Being careful costs nothing, and a slipped spanner on a bike this clean is the sort of thing you see forever.
One out, one in
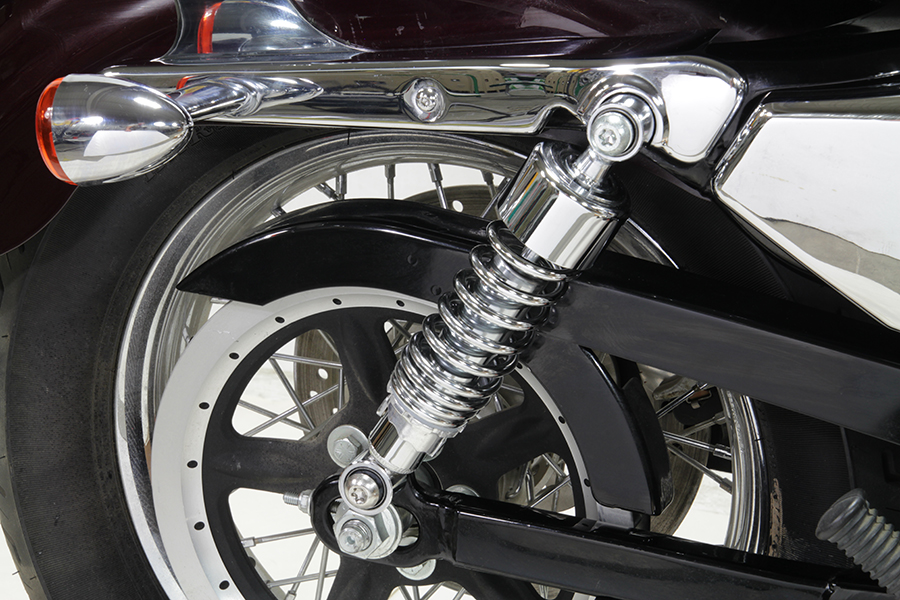
On one flank only, remove the upper and lower fixings, keeping each piece in the order it came off. The exhaust side may be tight, so check your socket before you begin. Never let both shocks be off together, as the swingarm relies on the one left behind.
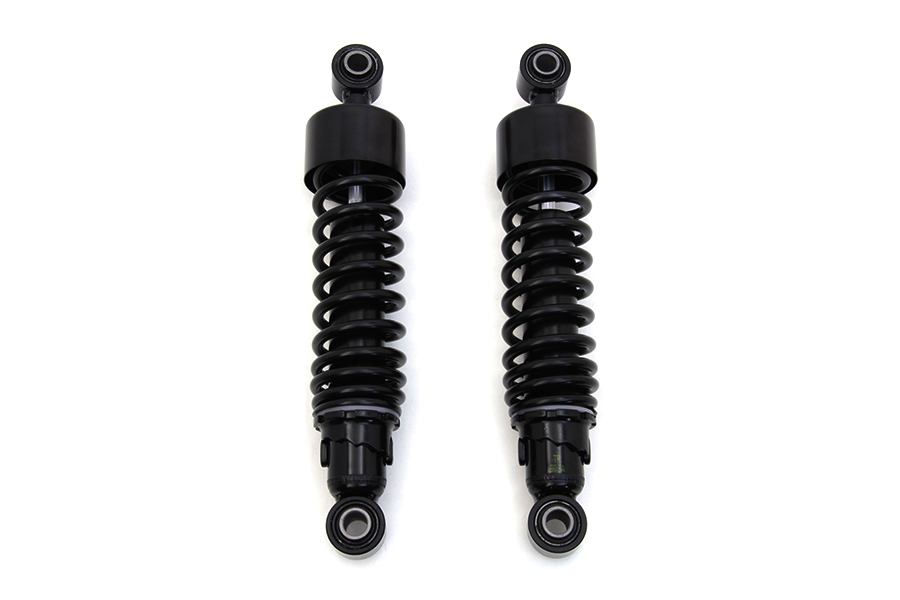
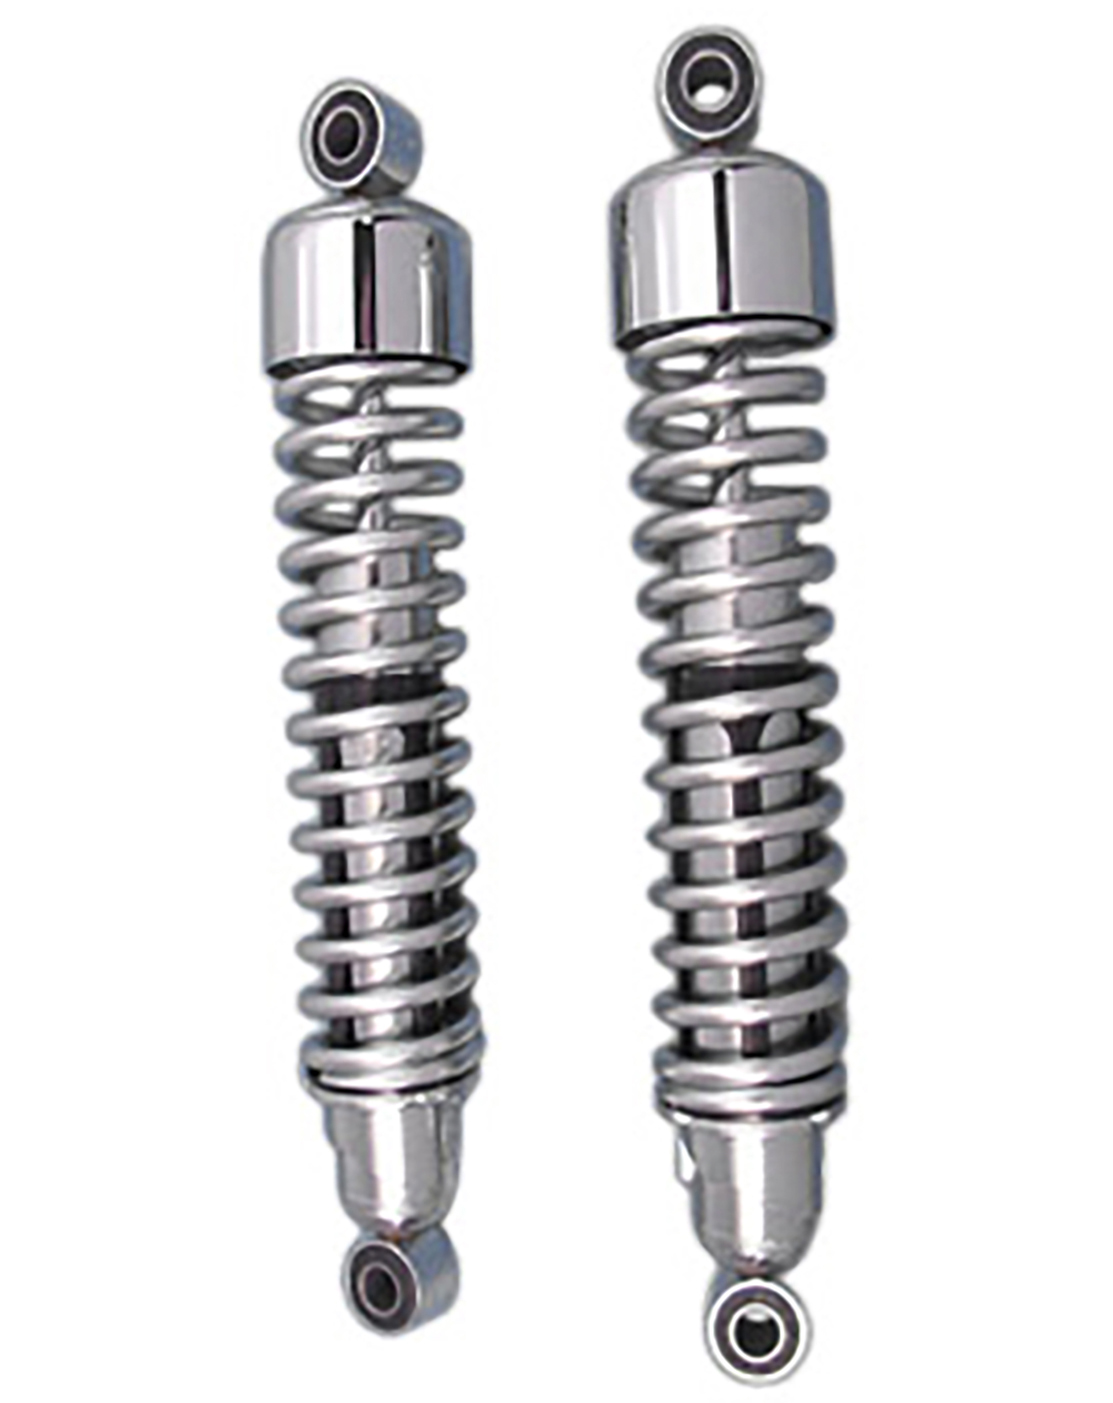
Hold the old unit up to the new one and compare overall length and mounting details. A mismatch here is the last chance to catch a bad order before installation.
Fit the new shock, bringing the block up or down until the eye slides on freely.
Details that handling depends on
Slop in a bushing or mount turns up as vagueness in a bend. It cannot be adjusted away. So look hard at each fixing for wear and thread damage, make sure nothing moves in the frame, and renew any rubber that has begun to split or set.
Also check the swingarm's general condition while you can see it clearly. Rock the wheel side to side by hand. Any play that was not there before needs to be traced, since it would spoil the benefit of your new shock.
Tightening and tuning
Run everything down by hand, and finish with your wrench set to the figure in the service manual for your model year. Do the second side the same way, and set both preload adjusters the same.
Then, with a helper steadying the bike, set sag using your earlier measuring points and the maker's target. Change just one thing at a time and note it in your book.
Finding out on a road you know
Warm the tyres and take your favourite stretch at a moderate pace first. Feel for steering change and listen for knocks. Build up gradually. Clearance and grip should now be better or at least the same. If they are worse, something is wrong with the setup.
Then get back to the garage, go over the torque and belt, check for any new marks on the pegs and record what you found for next time.
Mistakes that cost money
- Fitting lowering shocks to the Sportster chosen for cornering.
- Assuming the factory units are poor without checking.
- Setting up without recording the original sag and preload.
- Hunting for a handling fix in the shock when a bushing has play.
- Going straight to full pace on brand-new suspension.
When to stop
Any new looseness in the rear on a bend, or a swingarm that rocks by hand, ends the ride. Have it checked. A worn pivot or mount at cornering speed is not something to investigate from the saddle.
Parts for this job
Check fitment for your own model and year before ordering — add your bike and we will flag what fits.
Other Harley how-to guides
This guide covers procedure and judgement. Torque figures, fluid capacities, gaps and tension settings are specific to your model and year and must come from the factory service manual for your motorcycle — we deliberately do not print numbers we cannot stand behind for your bike. Independent aftermarket retailer, not affiliated with Harley-Davidson, Inc.