 HarleyMotorcycleParts
SuperLow (XL883L) Shock Replacement: Low Is the Point
Most shock advice says go longer. On a SuperLow that undoes the reason you bought it. Stay low, and do it properly.
Ask anybody online how to cure a harsh Sportster and you will hear the same thing: fit taller shocks. For the owner of this bike, that advice costs the very thing they paid for. It was built low on purpose. Taller units lift the seat, and a rider who could flat-foot at a junction is suddenly on tiptoe, with a heavy machine leaning at a stop. The right repair here keeps the height and replaces the worn or poor unit with a low-length one.
Tools
- Friend for the feet-down test
- Tape measure
- SAE socket set
- Torque wrench
- Motorcycle lift
- Straps
- Service manual
Test your feet first
Sit on the bike in your usual boots with a friend holding it. Put both feet down and note how flat they are. Then lean it slightly each way, as you would on a cambered road. That is your confidence baseline, and every buying decision should protect it.
Take a tape to the seat height too, compressed with you on it. A number lets you compare fairly with any shock maker's claims.
Then ask what actually bothers you. Hitting the stops, a bouncy rear after bumps and sore-back jolts are all different problems, though they get described the same way.
Low-length options, honestly
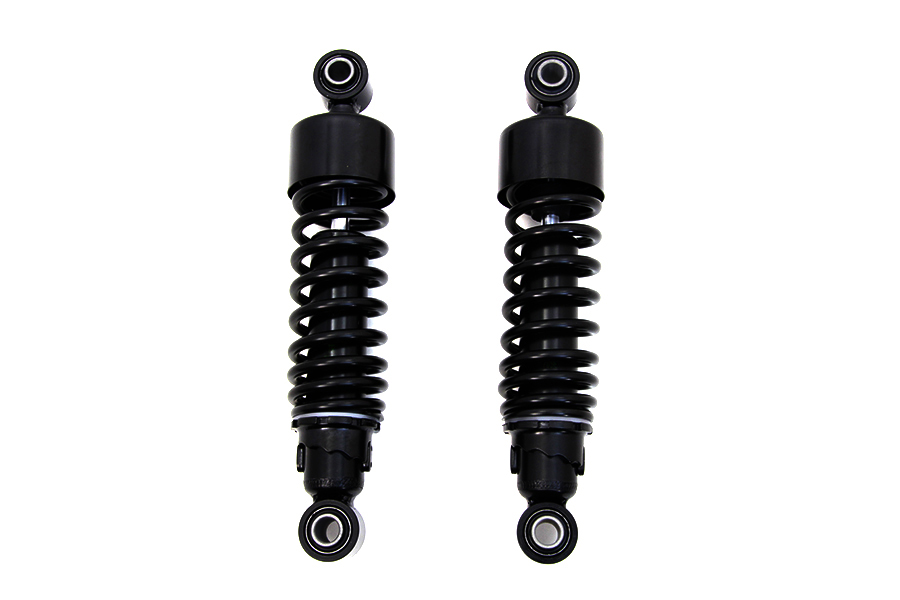
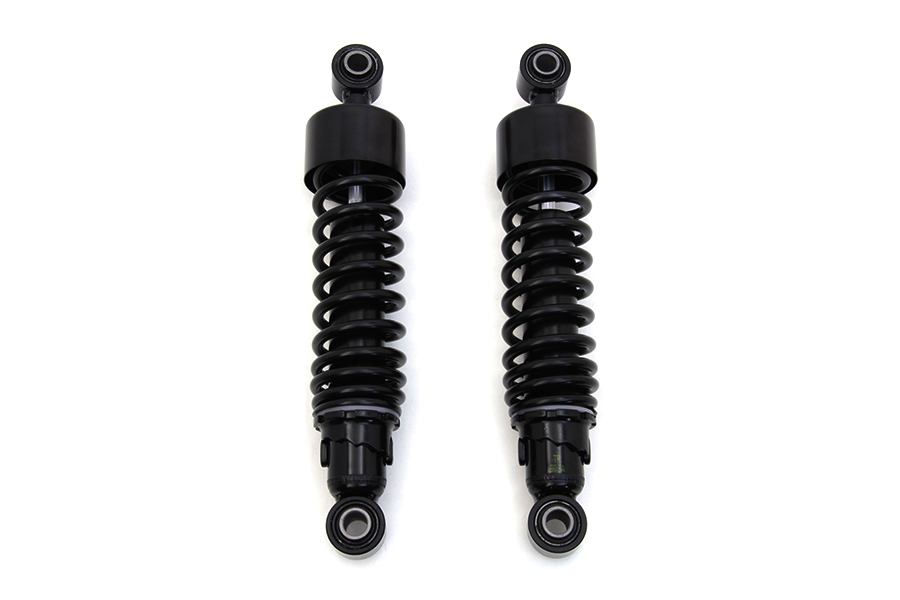
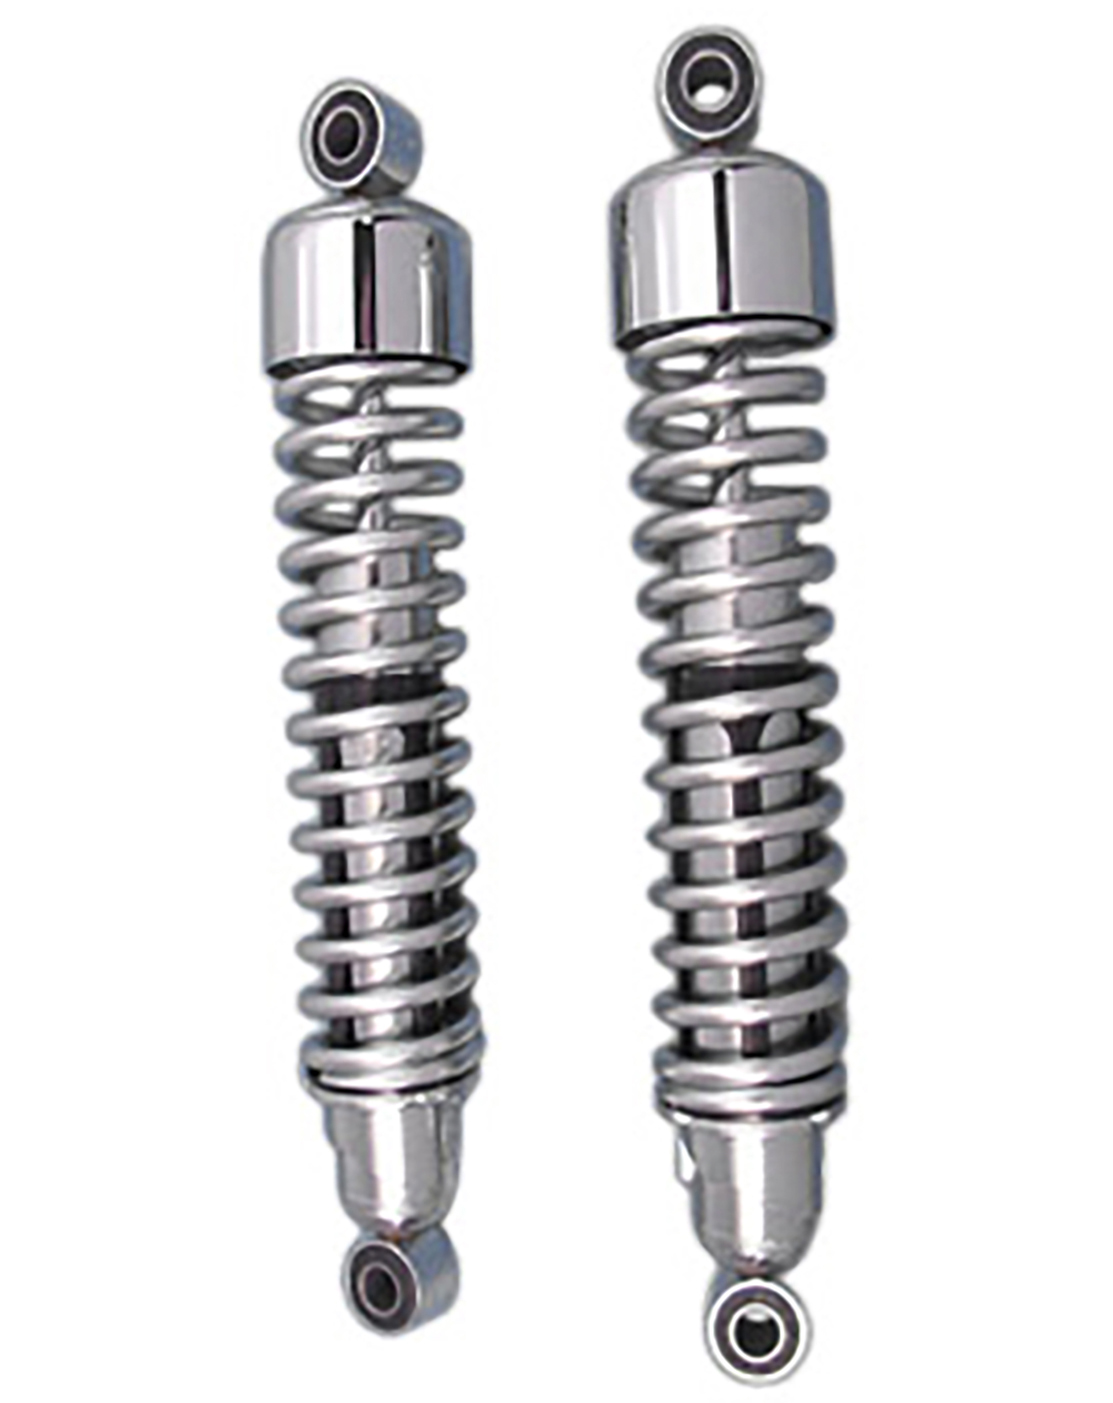
Shorter travel stays short, and a low-length shock will not change that. But better damping can make the same travel feel controlled, and a spring suited to your weight can stop you from running through it so quickly.
Some riders on this model are light, and stock settings may never have suited them. Others are not light and hit the stops often. Have your real weight handy when you look at options, with any passenger added.
Check the length against your factory figure before ordering, as a kit described as low may still not be the same as what your bike has now. Do not rely on the word alone.
Be wary of cutting corners here. Lowering by any other route, such as a cheap kit found secondhand with unknown history, takes away the certainty you need. If the seller cannot tell you the length and what bike it came from, walk away and buy something you can verify.
Lifting with a second pair of hands
If this bike already feels heavy to you at a stop, take the lifting seriously. Use a jack with a wide stable base, placed under the frame, and strap it. Ask your friend to stay for this step.
Raise until the rear tyre is just free of the ground, and keep a block ready to carry the wheel. The side stand must be clear of the floor once the frame is holding the load, or it may push the bike over when you lift.
Doing one shock
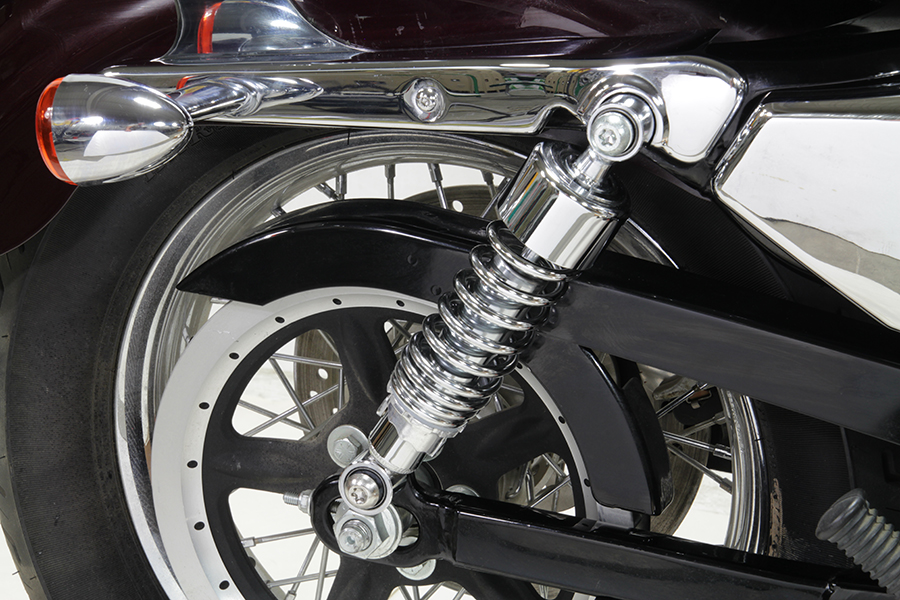
Begin on the non-exhaust side, where tools have more room. Note how the shock is oriented and where any adjuster sits. Remove the top fixing and bottom fixing with an SAE socket of the proper size, then hold the shock while easing it away.
Put hardware in order on a tray and resist the urge to swap the other side at the same time. That remaining unit is holding the swingarm's position, and this frame needs it.
Wear you should expect
Bikes that spend their lives low can bottom often, and repeated hits load the mounts. Inspect each fastener for wear, damaged threads or any play at the frame. Take a torch to the back of the mount too.
Inspect the bushings. A crumbled or stretched one is worth replacing while the shock is off, since this job gets a lot harder to justify doing twice.
Keep an eye on the swingarm around the lower mount as well. Scrapes on its underside, or on anything else low on the bike, are useful clues about how often this machine has been reaching the bottom of its travel, and how much better your new setup will have to be.
Fitting low-length shocks
Short units can leave the wheel needing to sit a little higher to meet the mounts. Bring the tyre up on the block rather than dragging the shock into line. Refit hardware in sequence.
Finger-tight first, then consult the service manual for the torque value and year that apply to your XL883L. Repeat on the exhaust side, where a shallow tool or spanner may be the only thing that fits. Keep preload equal on both.
Checking nothing was given away
Get back on with the same boots and repeat your feet-down test. Your friend can re-measure the seat. If the height moved more than you wanted, you will know now, not at your first junction.
Examine the side stand. A change in rear height alters how far the bike leans on it, so a low bike can end up leaning too far over or be hard to lift. Make sure you can get it upright from the stand comfortably. If length changed at all, check your belt reading as well.
Ride slowly in a safe place, including a few stops and starts. Next, ride your usual roads. Check the fasteners once you return, and check the fender area for marks.
Mistakes that cost money
- Fitting taller shocks on a bike bought for its low seat.
- Trusting the word "low" without comparing the length figure.
- Lifting a heavy bike alone when it already feels too heavy.
- Leaving the side stand in contact as the bike rises.
- Not repeating the feet-down test afterwards.
When to stop
If you can no longer plant your feet with confidence at a stop, or you cannot lift the bike from its stand, do not take it on the road. Go back to shocks that suit your height.
Parts for this job
Check fitment for your own model and year before ordering — add your bike and we will flag what fits.
Other Harley how-to guides
This guide covers procedure and judgement. Torque figures, fluid capacities, gaps and tension settings are specific to your model and year and must come from the factory service manual for your motorcycle — we deliberately do not print numbers we cannot stand behind for your bike. Independent aftermarket retailer, not affiliated with Harley-Davidson, Inc.