 HarleyMotorcycleParts
Softail Slim Rear Shocks (FLS / FLSL): Before You Go Any Lower
It is already built low. Dropping it further can be right, but only as a choice you made on purpose.
The Slim draws a particular kind of buyer, one who wants it lower still, and the common assumption is that dropping the back costs only a little comfort. It costs margin, and this bobber's low seat left little to begin with. Decide that deliberately. First, though, establish whether yours is the two-shock FLS or the one-shock FLSL.
Tools
- Stand or blocks
- Tape measure and notebook
- SAE and Torx sockets
- Torque wrench
- Spanner or other tool for your preload adjuster
- Helper for sag
- Service manual
Answer three questions first
What is actually bothering you? If your feet already sit flat at a stop, the wish for lower is about looks. That is a fair reason, but call it what it is, and weigh it against a harsher ride.
Does the bike bottom now? Ride your usual rough stretch solo and pay attention. A hard, sudden jolt at the end of a bump means you are using all the travel you have. Taking length away from that situation invites more of the same.
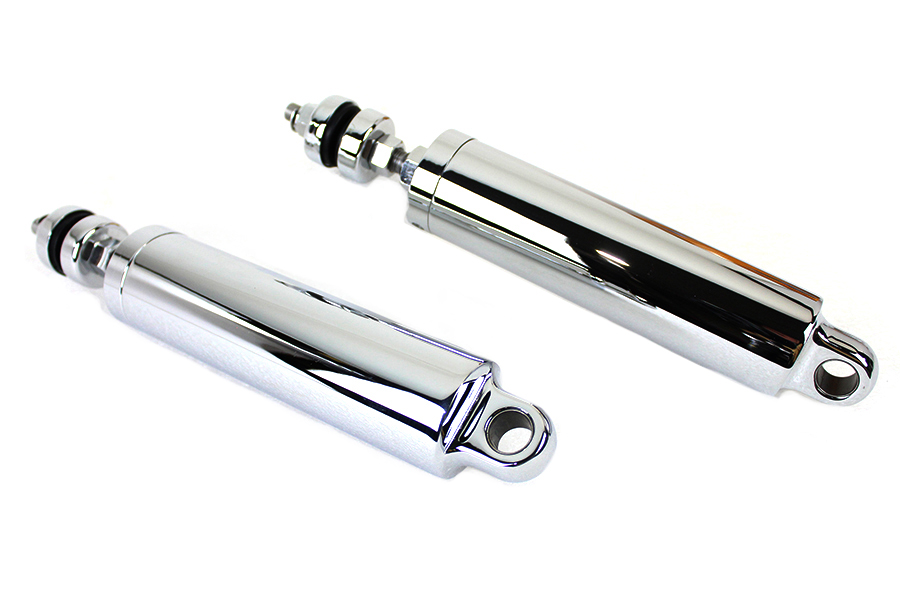
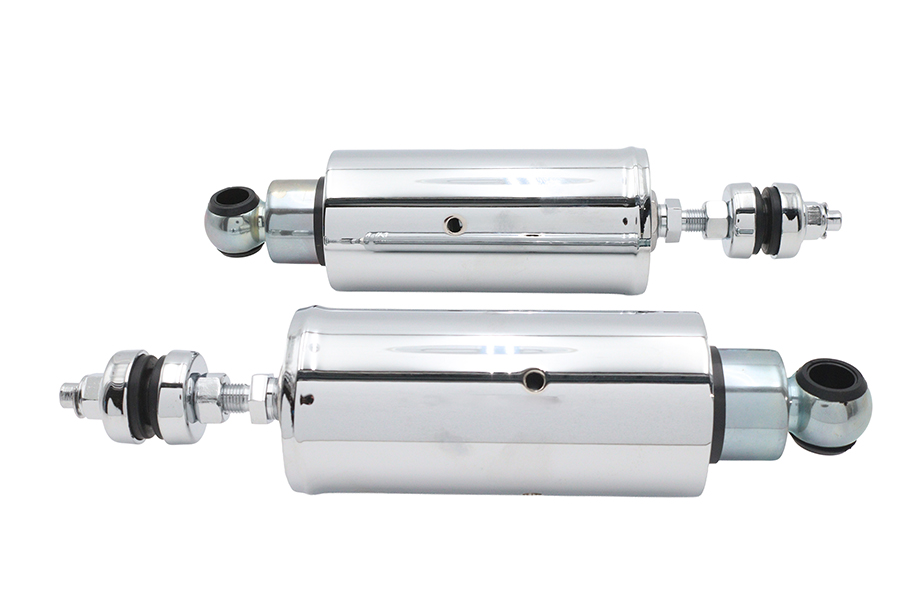
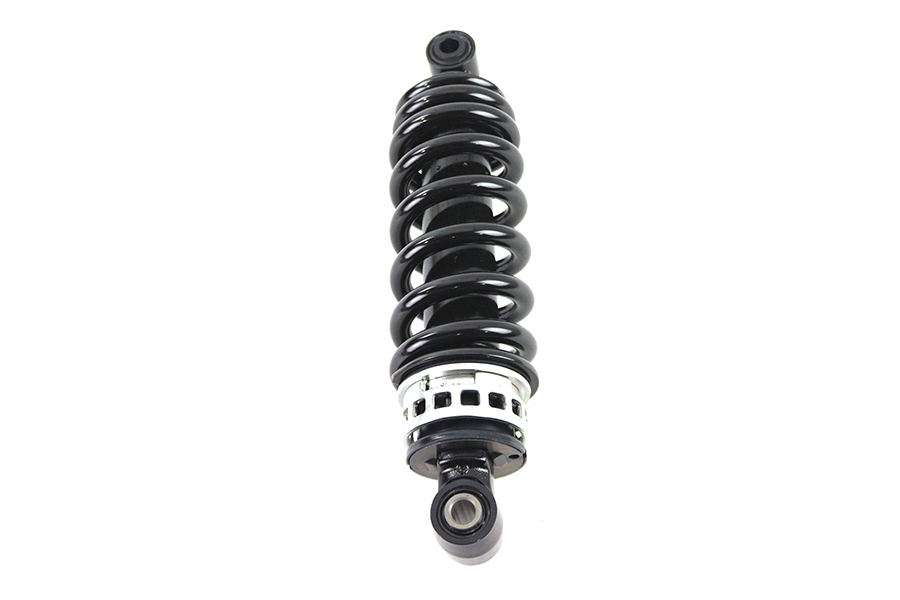
Which frame do you have? Your documents show FLS or FLSL. FLS means a pair of horizontal dampers low beneath the transmission. FLSL means a 2018-up frame with one under-seat unit, and no pre-2018 suspension part will fit it.
What a lower setup really changes
Shortening the rear reduces how far it can move before something stops it, and alters how the bike leans on its side stand. Check the stand lean after any height change, on level ground, before you walk away.
It can also change how the short rear fender and tyre relate. With so little fender to hide behind, any contact shows and any error looks obvious.
On the 2018-up chassis, lowering kits only suit certain adjuster types, so inspect your own shock before buying one. If yours is not a match, no amount of patience will make the kit fit.
Keep in mind that lowering a preload collar is not a free way down either. Too little preload sits you deep in the travel, and the crashing that follows feels like an overly hard shock.
Prep for either frame
Measure from the rear axle straight up to a fixed spot on the frame while the bike stands on its wheels, and write it down with the date. Do the same with you aboard. You now have a baseline, which most people who lower a bike never bother to record.
Find level concrete. Raise the bike on a stand or blocks only until the tyre floats, then place support under it so the swingarm cannot fall. A solo seat and short fender leave more room to see than on most Softails, so use that view to scan for rub marks before you start.
On the FLS
Slide underneath and look at both shocks. Note how they are oriented, and draw or photograph every sleeve and spacer. Evolution and Twin Cam frames differ, so buy for the era of your own frame only. Your transmission bolts need to be in factory position, or the shock may not clear.
Remove the hardware following your manual, hold each shock as it comes free, and lower it out. Do not reuse anything that looks fatigued simply because it came off in one piece.
On the FLSL
Unbolt the seat and clear whatever the manual calls for around the battery tray and side of the bike. Group the fasteners by location in a muffin tin or similar, because they are not all the same length.
Before unbolting the shock, write down its adjuster type and current setting. Then free the mounts as the manual directs, keeping the rear supported. A loaded spring stays loaded after removal, so do not attempt to dismantle this unit without the right compressor.
Fit and confirm
Examine what the old shock leaves behind. Bushings should be intact and snug. Bolts must be straight. Mount holes should be round. Fix any fault now: a knock from slack hardware is the same whichever shock you bought.
Install in reverse, threads started by hand. Use the torque values your year's manual prints, and do not guess from a neighbouring model. Tighten in steps instead of all at once.
With a helper holding the bike upright, measure rider sag and compare your axle reading to the baseline. If you went lower, you can now see exactly how much you gave up, in numbers. Since a Slim is often ridden solo, set it for that, and reset it if you ever do take a passenger.
Keep the first ride local. Go over a few bumps you know, side stand down afterwards and check its lean. Inspect the tyre and fender for fresh marks. Recheck fasteners after that ride and again after a longer one. If the back now slams on familiar bumps, that is your answer, and going back up is no failure.
Mistakes that cost money
- Lowering a bike that is already using all its travel.
- Backing off preload to drop the seat and calling it a lowering job.
- Buying a lowering kit before checking the adjuster type on the shock.
- Taking no baseline measurement, so there is nothing to compare against.
- Forgetting side stand lean after a height change.
When to stop
If the bike leans too far on the side stand, or leans so little it might tip the other way, do not park it on that stand until the height or the stand is put right.
Parts for this job
Check fitment for your own model and year before ordering — add your bike and we will flag what fits.
Other Harley how-to guides
This guide covers procedure and judgement. Torque figures, fluid capacities, gaps and tension settings are specific to your model and year and must come from the factory service manual for your motorcycle — we deliberately do not print numbers we cannot stand behind for your bike. Independent aftermarket retailer, not affiliated with Harley-Davidson, Inc.