 HarleyMotorcycleParts
Rocker C (FXCWC) Shock Replacement: Length Has Almost No Forgiveness
The fender rides with the swingarm and full compression leaves very little margin. Respect both.
On most bikes, you judge clearance by the gap between tyre and fender. That habit misleads here. On the Rocker C, the rear fender moves with the swingarm, so that tight gap stays nearly the same as the suspension works, and looks fine right up until the moving assembly reaches something above it. A wrong shock length has very little room to hide.
Tools
- Stand or blocks
- Padded jack
- Helper
- Bright light
- SAE and Torx sockets
- Torque wrench
- Painter's tape
- Service manual
Why the usual eyeball fails
This bike was shaped to look rigid, and much of that effect comes from the fender and tyre travelling together. Standing behind it and judging the tyre-to-fender gap tells you only that this tight gap exists. It does not say where that assembly ends up with the shock fully compressed.
So the question to ask is what the moving package can reach: frame, seat area, wiring, anything fixed above and ahead of it. Full compression leaves little margin on this model even in stock form.
This is why a shock of a different length, or one with different travel, deserves a real test. The usual advice that a few millimetres does not matter was never meant for a bike like this.
Choosing a part
Seek a shock listed for FXCWC or specifically confirmed by its maker for the Rocker. Generic Softail listings cover several generations, some of very different lengths. The Evolution frames and the later 2000-2017 frames, for one, cannot share a shock.
Ask the seller about both overall length and travel in writing. If the answer is 'it should be fine', your money should go elsewhere.
Be cautious with any shortening or extension aimed at changing the look. It is hard to verify and easy to regret on a model with this little margin. Sticking close to the original length is the cautious default, and any departure from it should be one you can check on the jack.
Unloading the rear
Mask the fender's edges and the tyre-side paint before touching anything. Tools close to a tight assembly leave marks quickly.
On a flat floor, take the frame up on a stand or blocks to the point the tyre clears the ground, without going further. Slide a padded jack underneath to carry the wheel. It will do two jobs: stop the swingarm dropping, and later raise the wheel slowly during the check below.
Taking the shocks out
Below the transmission lie the two horizontal units. Photograph the arrangement at each end. See that the transmission bolts are in the OEM spot, because the shock depends on that for clearance.
Take the mounting hardware off as your service manual lists it. Keep the jack supporting the wheel, and lower each shock by hand, watching for anything snagging on the way out. Keep spacers in order on a labelled tray.
Examine the pivots and mounts
With the shocks gone, the swingarm's mounts are exposed. Look for cracked or crushed bushings, oval bolt holes and bright wear lines. With so little clearance, any looseness that lets the assembly shift sideways matters more than it would on another bike.
Also look above the fender and tyre for witness marks on the frame and surrounding parts. Scrapes there tell you the old setup was already reaching its limit, perhaps because a worn or sagged shock let it.
The slow-lift check
This needs a helper and patience, and is done before the new shocks are finally tightened. Refer to the shock maker's stated travel for the limit you are working to, so you know about where the wheel should stop.
With the shocks disconnected at one end so they are not carrying the swingarm, raise the jack little by little. Your helper watches every side with a bright light, calling out the nearest thing to contact. Stop as soon as anything touches or looks close. Do not push beyond the shock's stated travel.
If the numbers leave no gap, you have the wrong part for this bike. Better to learn that here on a jack than on a pothole at speed.
Final assembly and first ride
Connect both shocks fully. Begin each bolt by hand with the hardware in the order you photographed. Bring each to the value stated in your year's shop manual. Remove the tape only once everything is tight.
Set preload the same each side and measure sag. Sitting too deep in the travel on this bike eats the small margin you just verified, so take sag seriously, and do not reduce preload merely for a softer feel.
Ride off slowly. Try small bumps first, then moderate ones. Back at home, go over fasteners and look above the tyre for fresh marks. Check again after your first real ride with your usual road surfaces.
Mistakes that cost money
- Judging clearance by the tyre-to-fender gap, which hardly changes on this bike.
- Buying from a broad 'all Softail' listing.
- Skipping the jack test because the shock 'looks the same'.
- Running less preload for comfort and eating the margin.
- Ignoring witness marks above the fender.
When to stop
If the moving assembly touches anything before the shock's stated travel runs out, do not ride the bike with that shock. Return to the correct part.
Parts for this job
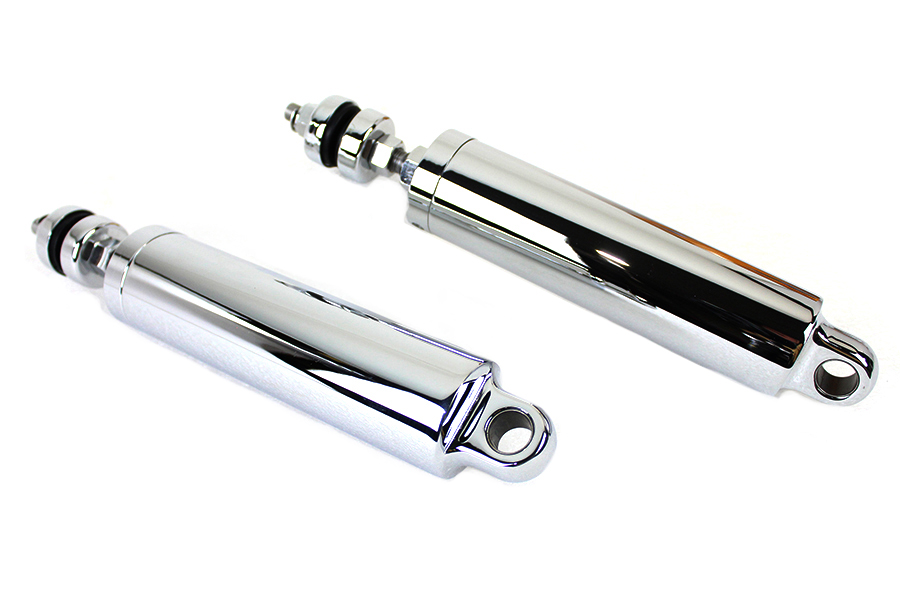
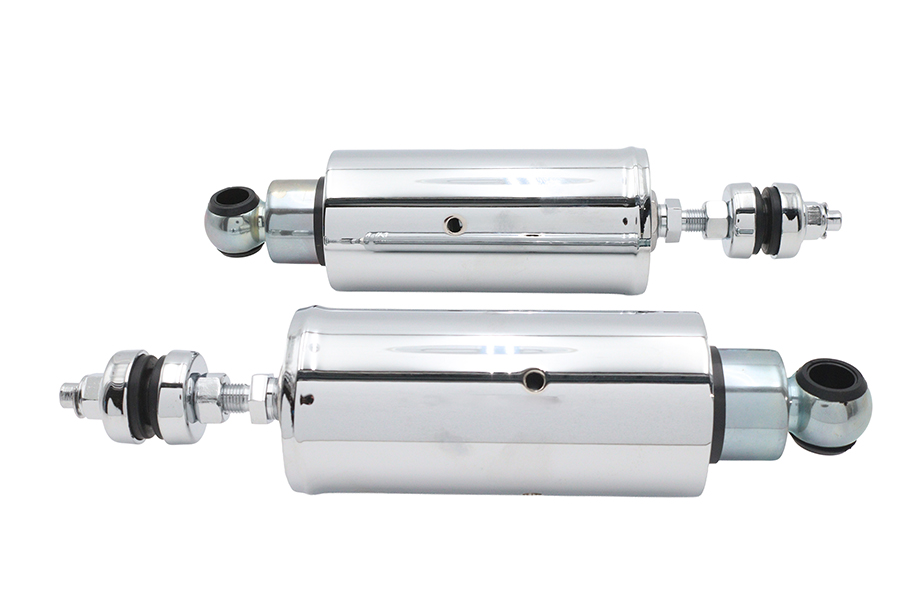
Check fitment for your own model and year before ordering — add your bike and we will flag what fits.
Other Harley how-to guides
This guide covers procedure and judgement. Torque figures, fluid capacities, gaps and tension settings are specific to your model and year and must come from the factory service manual for your motorcycle — we deliberately do not print numbers we cannot stand behind for your bike. Independent aftermarket retailer, not affiliated with Harley-Davidson, Inc.