 HarleyMotorcycleParts
Night Train (FXSTB) Shock Replacement on an Older Softail
Expect corroded hardware, and do not assume the shocks on your bike are the ones it left the factory with.
The usual advice for this job treats the old shocks as factory parts held by clean bolts. On a Night Train, which by now has lived through plenty of winters and owners, neither is safe to assume. Those shocks may have been swapped once already, and the fasteners may fight you. Plan as if both are true, and begin the night before.
Tools
- Stand or blocks
- Penetrating oil, applied the day before
- Six-point SAE sockets and Torx bits
- Breaker bar
- Torque wrench
- Thread cleaning tools
- Factory shock spanner if reusing the adjuster setting
- Service manual
The evening before
Get the bike somewhere you can see underneath it. Look over both shocks with a flashlight, and write down any brand markings or numbers. If they carry a name other than the factory's, somebody has been here before you, and you cannot assume the hardware or spacers are what the manual pictures.
Soak every mounting bolt you can reach with penetrating oil. Wipe the threads and do the same again in the morning. This costs almost nothing, and a sheared bolt inside a frame mount costs plenty.
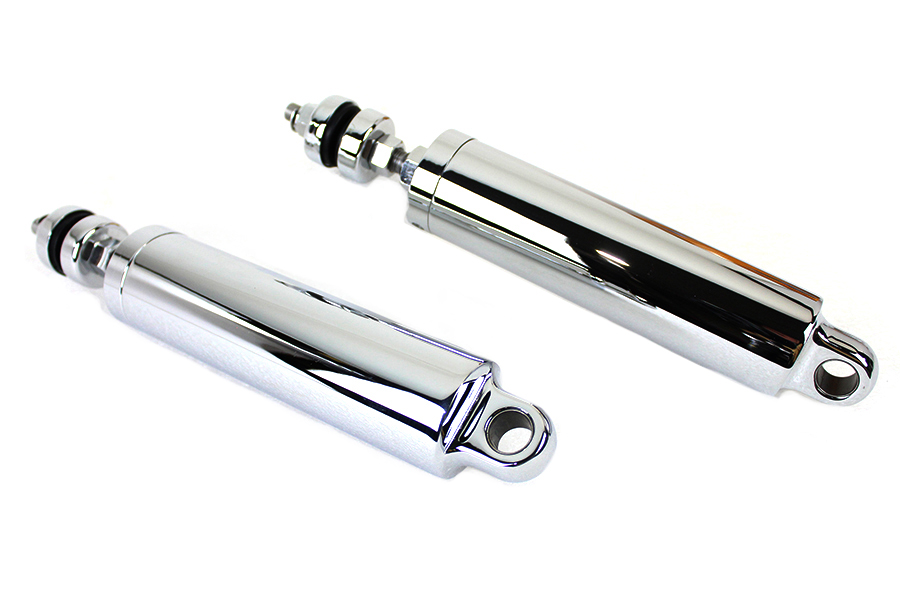
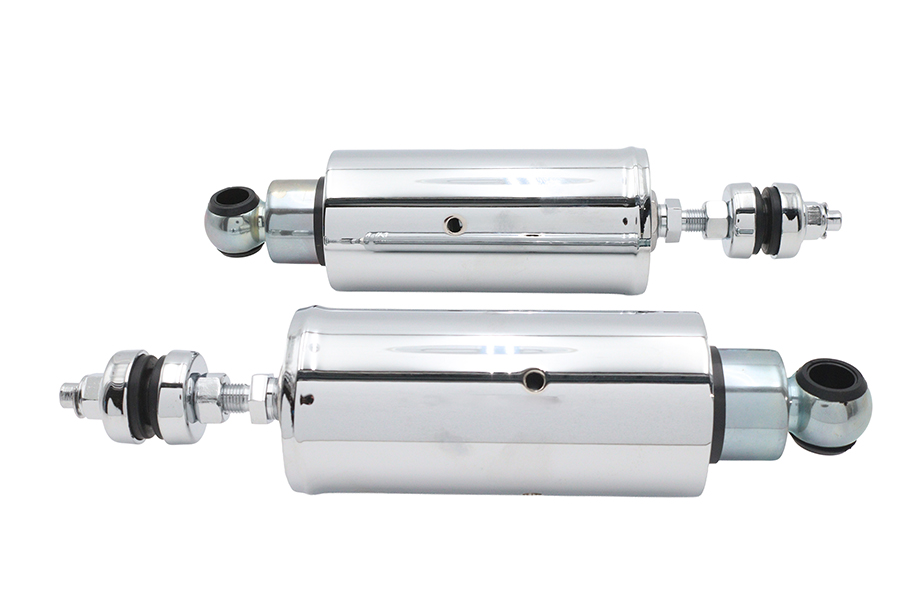
Also note the model year, and work out which era your frame belongs to. Pre-2000 and 2000-up Softails take different shocks, with Bitubo's listings showing 302.5 mm against 227.75 mm eye to eye. A shock bought only by the name Night Train may be wrong for yours.
Support for a bike you do not yet trust
Inspect your stand's contact points on the frame, because rust and old damage are worth finding before the bike's weight is on them. Raise it just enough for the rear tyre to hang free. Put blocks under the wheel as well, so the swingarm has somewhere to rest.
Check the transmission bolts while you are looking. If a former owner has moved them, return them to the OEM position, as they affect clearance for the shock. Give those bolts a look for rust and looseness while your light is there, since age reaches them as well.
Beating seized hardware
Use six-point sockets. Twelve-point ones round off rusted heads, and the bar will then be doing nothing for you. Fit the socket fully square and push with steady pressure. A sudden jerk is how heads shear.
If a bolt will not start, stop and give it more oil and more time. Working it a little tighter and then a little looser often breaks the corrosion free where brute force would not.
Keep your own hand out of the path of the bar. Lying underneath, your knuckles are next to whatever the wrench hits once a stuck bolt lets go.
A snapped bolt or a stripped thread in a frame mount is a good moment to call a machine shop. Being honest about that is cheaper than drilling crooked into the frame of an old bike you intend to keep.
Taking stock after removal
Lay out what came off in order, and photograph it. Any mismatched spacers or home-made sleeves show that an earlier owner improvised. Replace improvised parts with the correct ones. Bushings at this age are often hard, cracked or worn away, and you should plan on replacing them regardless.
Scrub out the mount holes and inspect them for ovalling and pitting. Clean the threads with the proper tool, not a bolt forced through. Then buy fresh hardware if the old fasteners show rust pits or stretched threads. Grade and size must match the manual, and generic hardware store bolts are not the answer.
Compare the old and new shocks on the bench. If the bike already wore the wrong shock, this is where you will discover it, as your measurements will not agree with the new listing.
Going back together
Fit the new pair with spacers correctly placed. Run all threads in by hand, which will confirm that your cleaning worked. Take the torque for each fastener from the service manual, and reach it on clean threads with a checked wrench.
A factory-style adjuster is set with a spanner whose tangs seat in the holes of the canister. Set both shocks the same, then check sag with a helper. An old bike's previous owner may have left this set for somebody else's weight.
The first miles
Unload the bike and bounce the rear by hand, listening. Ride around the block at low speed, feeling for a knock or a sideways shift in the rear end, which would suggest a mount fault. Stop to feel both shocks for leaks and re-check fasteners. Do another check after a hundred miles or so, as old mounts can take time to settle.
While you are here, check the rear brake line and any wiring near where you worked. An old bike gives you few chances this easy to spot a tired part before it fails.
Mistakes that cost money
- Starting the job cold, with no penetrating oil soak.
- Using twelve-point sockets on rusty fasteners.
- Ordering by model name without working out the frame era.
- Refitting a previous owner's improvised spacers without question.
- Reusing pitted bolts because they came out in one piece.
When to stop
If a frame mount thread strips or a bolt snaps inside the frame, stop there. Do not improvise a fix on a suspension mount. Get it repaired properly before the bike goes back on its wheels.
Parts for this job
Check fitment for your own model and year before ordering — add your bike and we will flag what fits.
Other Harley how-to guides
This guide covers procedure and judgement. Torque figures, fluid capacities, gaps and tension settings are specific to your model and year and must come from the factory service manual for your motorcycle — we deliberately do not print numbers we cannot stand behind for your bike. Independent aftermarket retailer, not affiliated with Harley-Davidson, Inc.