 HarleyMotorcycleParts
Breakout Shock Replacement (FXSB and FXBR) and the Fat Tyre Problem
Shock length alters that long drag-bike look, and it also decides whether the wide tyre finds the fender.
Slamming a Breakout's rear looks free, because the stance gets meaner and the kerb appeal rises. What gets overlooked is that very wide rear tyre: at full compression, it may be the first thing to meet the fender. Length changes the rake you see and the gap you do not. An FXSB and an FXBR also need entirely different shocks.
Tools
- Stand or blocks
- Jack with padded top to raise the wheel slowly
- Masking tape
- SAE and Torx sockets
- Torque wrench
- Adjuster tool for your shock
- Service manual
The shape you are buying
Shock length on this bike changes how the whole machine sits, nose to tail. Drop the rear and it looks more raked and more dragster. Raise it and some of that long, low line goes. Stand back and take a side-on photo at eye level before you touch anything, so you can judge later with something better than memory.
Length also decides how much of the wheel's arc is available before rubber meets metal. There is no universal safe number, so do not look for one in a forum. Use the shock maker's stated length and travel for your exact year, and verify on the bike itself.
Be careful with the phrase 'fits Softail'. Your FXSB is on the old frame, which comes in eras that use different eye-to-eye lengths, while the FXBR shares nothing with it. Get the listing confirmed against your code and year.
Two-shock FXSB: getting at them
Everything happens underneath. Raise the rear on a stand or blocks only as far as needed for the tyre to clear the ground, then support the swingarm with a padded jack, which you will also use later.
Tape the fender's lip and the lower edges of nearby paint. The bike's low lines bring your tools very close to expensive surfaces.
Note orientation and spacers. Confirm the transmission bolts have not been moved from factory position, since the shock's clearance depends on it. Following your manual, take out the mounting bolts and lower each damper by hand.
Single-unit FXBR: getting at it
Rear supported, seat removed. The manual then specifies what else needs moving, and on many of these bikes that includes the battery tray area and side parts. Take pictures as you go. The wiring here will not forgive a hurried reassembly.
Identify the adjuster on your own shock from the manual's description before unbolting. Some setups use a collar, a screw or a remote knob. This also determines whether any lowering kit can even be fitted to it.
With the mounts free and the wheel held up on the jack, lift the unit out. A compressed spring is stored energy, so opening the shock is a job for someone who has the right compressor.
Check the bushings and hardware
Before going forward, inspect the rubber and metal the old shock was riding on. Compare both ends. Cracks, flattening and side-to-side play are enough to condemn a bushing. Elongated mount holes need attention, not a fresh bolt in a bad hole.
Fit nothing over dirt. Wipe the mounts clean so the new shock seats fully and you can see the surfaces you are pressing together.
A rear wheel this wide also magnifies any sideways shift. Grip the tyre at the sides and rock it gently while looking at the mounts and pivot. Movement that feels trivial at the hub turns into a real change at the edge of the tread, right where the fender is closest.
The clearance test that earns its time
This is the step that matters most for this bike. Where the shock maker publishes length and travel, use those figures to estimate where the wheel ends up at the limit. Then, with the shock not yet carrying load and a helper watching, raise the wheel slowly on the jack through that arc.
Your helper should watch the tyre's full width against the fender, and also the belt side and the exhaust side. The widest part of the tyre is rarely where you are looking. Stop at any contact or if anything binds. Then rethink the length. Do not plan to ride it and see.
If you cannot get the data for this test, ask the seller in writing, and treat vagueness as a reason to choose differently.
Close it up
Hand-start the bolts. Consult your year's shop manual for the fastener values and tighten in stages. Refit whatever you moved, in reverse order, and take off the tape.
Set preload and measure sag, then stand back and take that same side-on photo for comparison. Take the first ride gently, finding a few moderate bumps at low speed, and listen hard.
After you park, look along the inside of the fender for a fresh shine or rubber dust. Recheck each fastener. Repeat that look once you have done a harder ride on your normal roads.
Mistakes that cost money
- Choosing shock length from photos of other people's bikes.
- Checking the gap at rest and never near full compression.
- Looking at the tyre's centreline and forgetting its full width.
- Trusting 'fits Softail' without a year and code.
- Skipping the look inside the fender after the first hard ride.
When to stop
Rubber dust or a bright rub line inside the fender means contact. Stop riding and go back to a length with proper clearance. A tyre that contacts bodywork under load is a safety fault, not a styling compromise.
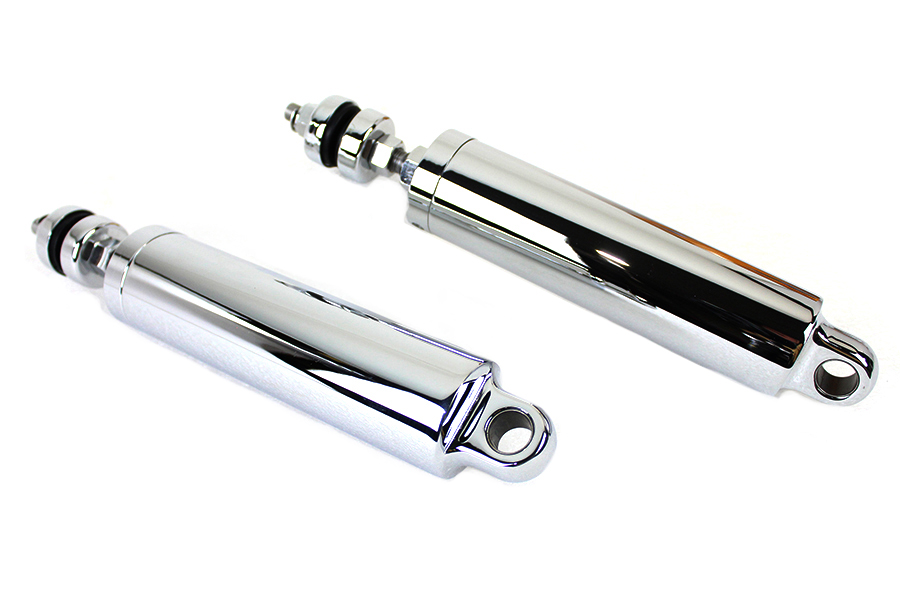
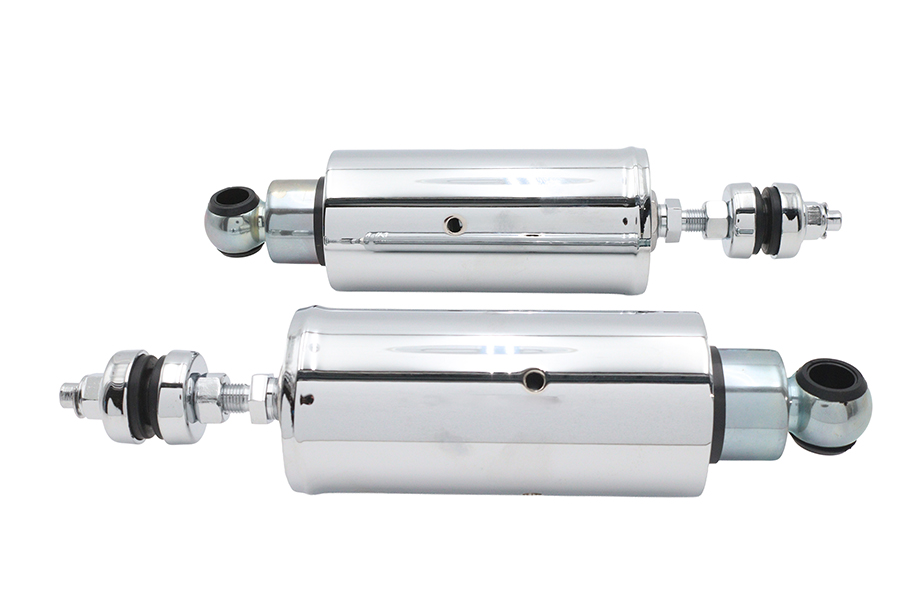
Parts for this job
Check fitment for your own model and year before ordering — add your bike and we will flag what fits.
Other Harley how-to guides
This guide covers procedure and judgement. Torque figures, fluid capacities, gaps and tension settings are specific to your model and year and must come from the factory service manual for your motorcycle — we deliberately do not print numbers we cannot stand behind for your bike. Independent aftermarket retailer, not affiliated with Harley-Davidson, Inc.