 HarleyMotorcycleParts
Softail Standard (FXST) Rear Shock Replacement, Old Chassis and New
Two different motorcycles wear this name, and they do not share a single shock.
Ask for 'a shock for a Softail Standard' and you have not yet said anything useful, because the badge covers two unrelated designs. Older FXSTs hide a pair of horizontal shocks below the transmission. The 2020-up FXST carries one monoshock beneath the seat. Settle which bike is in your garage before ordering or unbolting anything.
Tools
- Motorcycle stand or solid blocks
- SAE sockets and Torx bits
- Torque wrench
- Preload spanner or whatever your adjuster takes
- Flashlight
- Service manual for your exact year
Which FXST is this?
Start with the model year on your registration. Anything from 1984 through 2017 is the old layout, and the 2020-up bike is the new one.
Then confirm with your eyes, because paperwork is sometimes wrong and a used bike can surprise you. Get low with a flashlight and look under the transmission. Two horizontal cylinders lying there mean the twin-shock frame. Nothing there, and a single unit reached by lifting the seat, means the monoshock.
If you have the old layout, one more question decides the part: Evolution era or Twin Cam era. These take different shocks. Bitubo, as one example, lists 302.5 mm eye to eye for the first group and 227.75 mm for the second, so a shock from the wrong era cannot simply be made to work.
Nothing from a pre-2018 frame carries over to the 2020-up bike, either. Treat any listing that says 'fits all Softail' as unproven until it names your year and code.
Path one: the hidden pair
Raise the bike on a stand or blocks until the rear tyre just clears the floor. Higher is not better here. You want the swingarm hanging naturally with the load off, plus enough room to lie beside it and work upward.
Prop the swingarm or the wheel so nothing drops suddenly once a mount lets go. Before loosening anything, note how the old units sit, which way the adjuster faces, and the position of each spacer or sleeve.
Check that the transmission bolts are in their factory position. Fitting instructions from at least one shock maker call for this specifically, since it affects shock clearance. A previous owner may have moved things.
Release the mounting bolts in the sequence your manual lists and ease each shock out. It may be heavier and greasier than you expect, so keep your face out from under it.
On the early remote-reservoir bikes, the right bushings and sleeves are not optional. Confirm that you have them in hand before the old parts come off.
Treat the two shocks as a matched set. Mixing an old unit with a new one leaves each side damping differently, and that twists the swingarm over every bump. The factory adjuster is turned with a spanner whose tangs sit in holes around the canister, so bring both sides to the same position before the new pair goes up, and count the turns or mark the canister so you can repeat it.
Your manual will say whether it wants one side done at a time. Whichever way it goes, keep the wheel propped until both are bolted up.
Path two: the single unit
Support the rear securely, then remove the seat. On many of these bikes the battery tray area and some side components must also move aside. Follow the manual's order instead of improvising one, and take phone photos of every connector and clip you disturb.
With the shock visible, study its preload adjuster before you remove it. This chassis has used a spanner collar, a screw and a large remote knob across models and years, so read what is actually fitted. Your replacement must suit the bike's layout, and any lowering kit only fits certain adjuster types.
Undo the mounts per the manual, keep the rear supported, and lift the unit out. Leave the spring alone. It is under compression, and taking one apart without the correct compressor can hurt you badly.
What both jobs share at the end
Clean each bolt and mounting point and look hard at them. Oval holes, split or squashed bushings, stripped threads and shiny rub marks are all reasons to stop and order parts now, while it is apart.
Offer up the new shock with spacers where they came from. Start every bolt by hand before a wrench touches it.
The torque figures vary by year and fastener, so read yours from the shop manual and use a calibrated wrench. Do not borrow a number from a forum or a different Softail.
Set preload, then measure sag as our preload guide describes. Lower the bike, bounce the rear by hand and listen for contact. Ride slowly around the block, then over a known rough road, and put the wrench back on each fastener once you are home.
Mistakes that cost money
- Ordering by the name Softail Standard without the year.
- Assuming an Evolution-era and a Twin Cam-era shock are interchangeable.
- Lifting the rear far higher than needed, which makes the mounts harder to line up.
- Opening a sprung shock without a compressor.
- Using torque values from a different year of FXST.
When to stop
If the bolts will not line up without force, or the shock touches anything at rest, stop. Wrong era or wrong hardware is the likely cause, and forcing it will not cure that.
Parts for this job
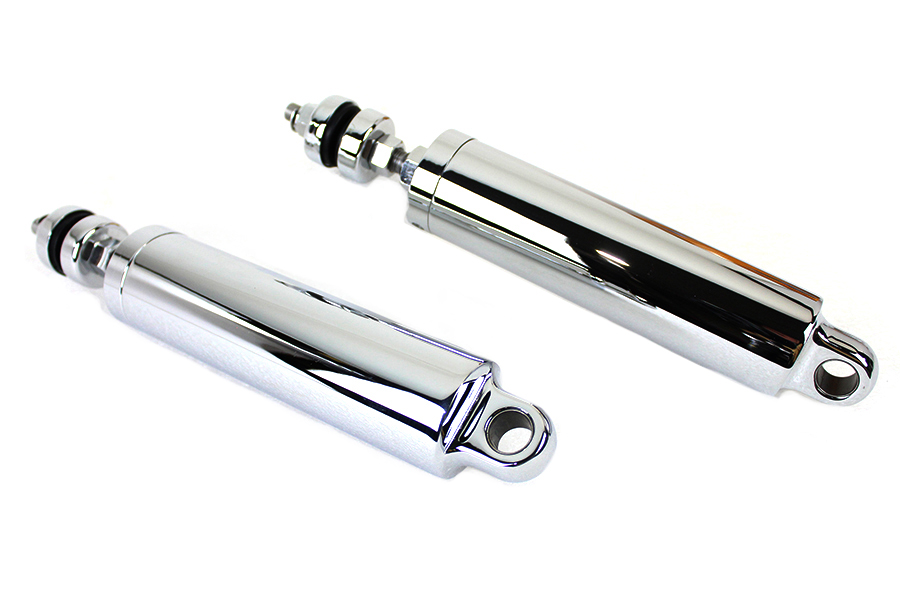
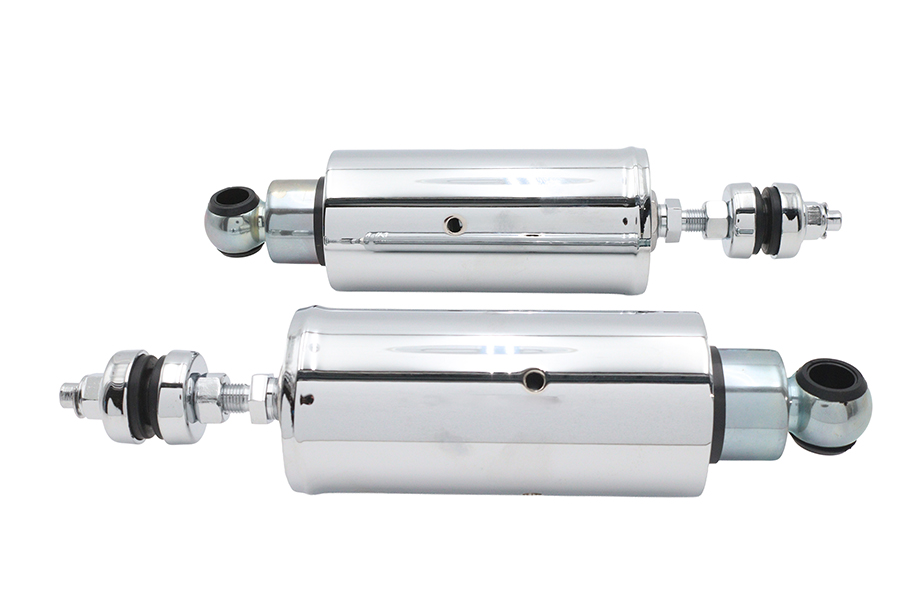
Check fitment for your own model and year before ordering — add your bike and we will flag what fits.
Other Harley how-to guides
This guide covers procedure and judgement. Torque figures, fluid capacities, gaps and tension settings are specific to your model and year and must come from the factory service manual for your motorcycle — we deliberately do not print numbers we cannot stand behind for your bike. Independent aftermarket retailer, not affiliated with Harley-Davidson, Inc.