 HarleyMotorcycleParts
Lifting and Re-Shocking a Road Glide Limited (FLTRK)
On a full-dress Road Glide the lift is the job. Plan the support first and the shock swap becomes the easy part.
The dangerous part of re-shocking a Road Glide Limited is not the shocks. It is standing a full-dress bagger, top-heavy with a Tour-Pak, on a lift that was only ever just good enough. A cheap stand that coped with a stripped bike may not cope here. Plenty of bad days with this job start on a sloped driveway with a wobbly jack. Solve the support problem first.
Tools
- Stable frame lift rated for the weight of your bike
- Tie-down straps
- Wheel chock
- Swingarm jack
- Sockets and torque wrench
- Strong helper
- Tape measure
- Service manual
The lift comes before anything else
Check the rating of your lift against the weight listed for your bike, plus anything still on it. Do not estimate. If the rating leaves no margin, borrow or rent one that does, or pay a shop for this job.
Work on level concrete. Soft asphalt on a warm day will let a lift foot sink, and gravel is out of the question. Sweep the floor so that no pebbles sit under the pads.
Pads go on the frame. Pipes, pans and covers are not structure. Identify the lift points shown in your manual and clear any wiring or hoses from them.
Lightening the rear
Clear everything from the Tour-Pak and saddlebags. Heavy cargo up high makes the whole stack tippy, and removing it costs you only a few minutes.
Put the removed cargo where nobody has to step over it. You will be walking around the lift a lot, and a clear path matters more on this job than any tool in the box. Decide in advance who does what if the bike moves, and agree that nobody tries to hold it. Your helper should know where the lift's release is and should not touch it unless you say so. Run through that plan once out loud, with the bike still on the floor, before anything goes up.
Think about the Tour-Pak itself. It may block your access or raise the balance point enough to make you uneasy. If so, remove it per the manual, disconnecting any wiring first, and set it down somewhere safe.
Now unbolt or unlatch the saddlebags. Touring shocks cannot be reached with them fitted.
Raising it in stages
Chock the front wheel, with a helper on the far side of the bike. Bring the lift up until it barely contacts and the suspension starts to unload, then stop. Look again from all sides at how the pads meet the frame.
Continue in small increments. Fit tie-down straps from the frame down to the lift, or wherever the lift's own instructions direct. Give the bike a firm push. It should feel like a single solid object with the lift. If it rocks, lower and restart.
Raise a separate jack beneath the swingarm until it lightly touches. Leave that in place throughout.
Doing the actual swap
After all that, the shocks are straightforward. See whether your left side has the preload knob that is found on most M8 models, and read how the manual wants it handled. Leave that side for second.
Take your reference photo and put a labeled tray close by. Undo the lower hardware and then the upper. If the shock binds, shift the jack by a hair instead of swinging harder, because force near a loaded lift is a bad idea.
On this weight of bike the mounts have a hard life. Examine bushings for cracking, tearing and play. Run a finger around the mount bores on frame and swingarm. Clean the threads and inspect them with a flashlight. Replace what needs replacing.
Slide the fresh shock onto the upper mount and bring the lower mount into alignment with the jack. Start each fastener by hand. Your service manual holds the figures for both ends, so tighten to those with no guessing.
Only now do you move across to the other shock. Having one secured at all times stops the arm from wandering, which matters more with this mass above you.
Back on the ground, carefully
Lower in stages with your helper present, keeping the straps on until the tires are carrying weight. Then pull the jack, straps, and chock, in that order.
Refit the saddlebags, and the Tour-Pak if it came off, restoring any connections. Test the taillight, brake light and turn signals if you unplugged anything.
Set rider sag solo, then with your normal load, using the adjuster and the manual's range. Heavy touring load usually needs a different setting, so write both down.
Make your first ride a slow one around quiet roads. Listen for knocks and feel for any shimmy. Then bring it home and use your torque wrench on every shock fastener. A last look at the mounts after your first full day out finishes the job.
Mistakes that cost money
- Trusting a lift whose rating you have not looked up.
- Working on gravel, sloped ground or warm asphalt.
- Lifting with the Tour-Pak still loaded.
- Going under the bike before testing that it is stable.
- Removing the straps before the tires carry weight.
When to stop
If the bike rocks on the lift at any point, get it back down, even when you are nearly done. Never try to catch a falling full-dress bagger. Step away and let it go.
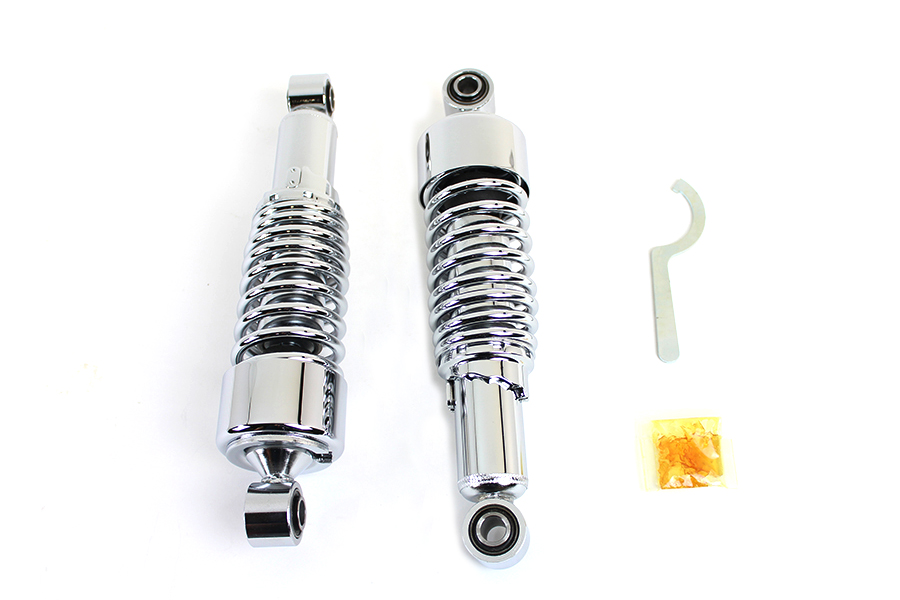
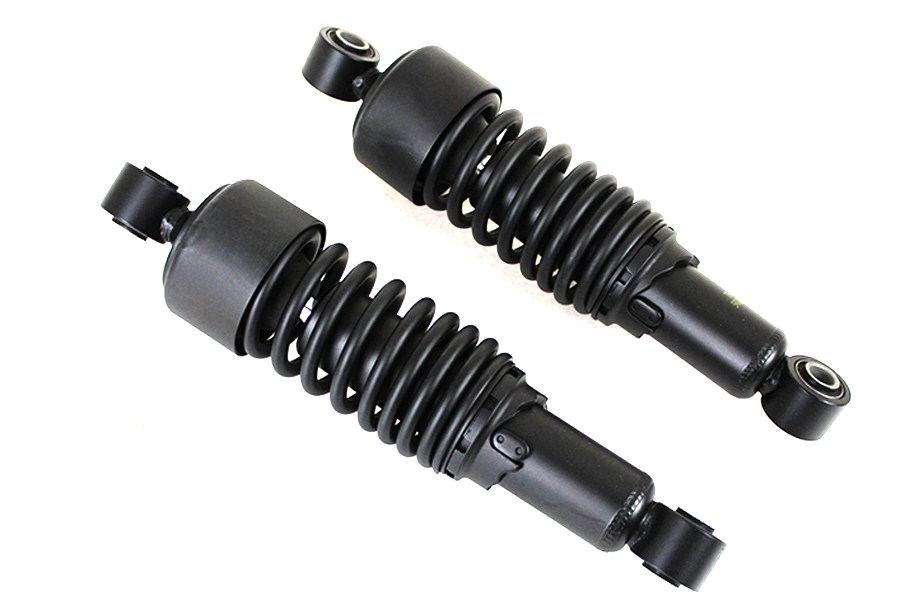
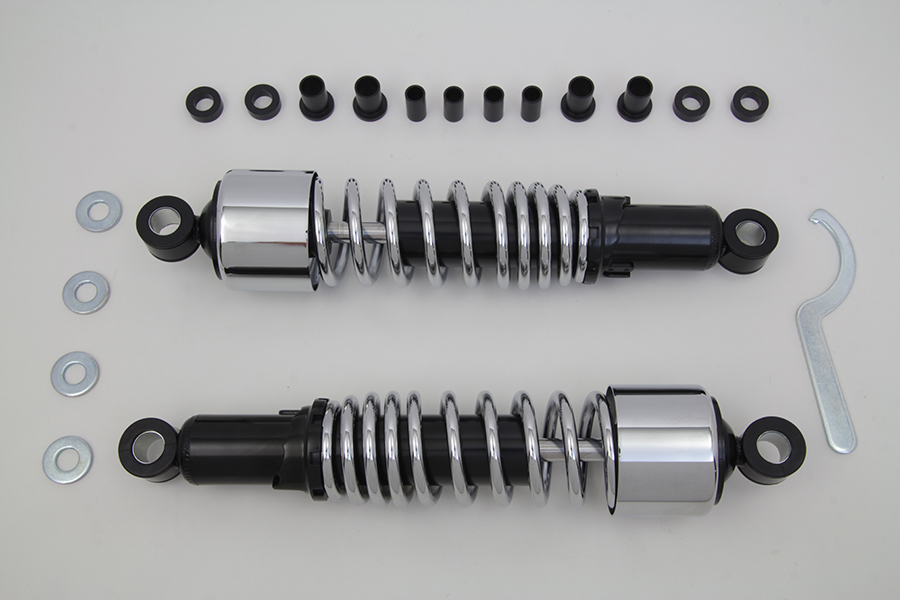
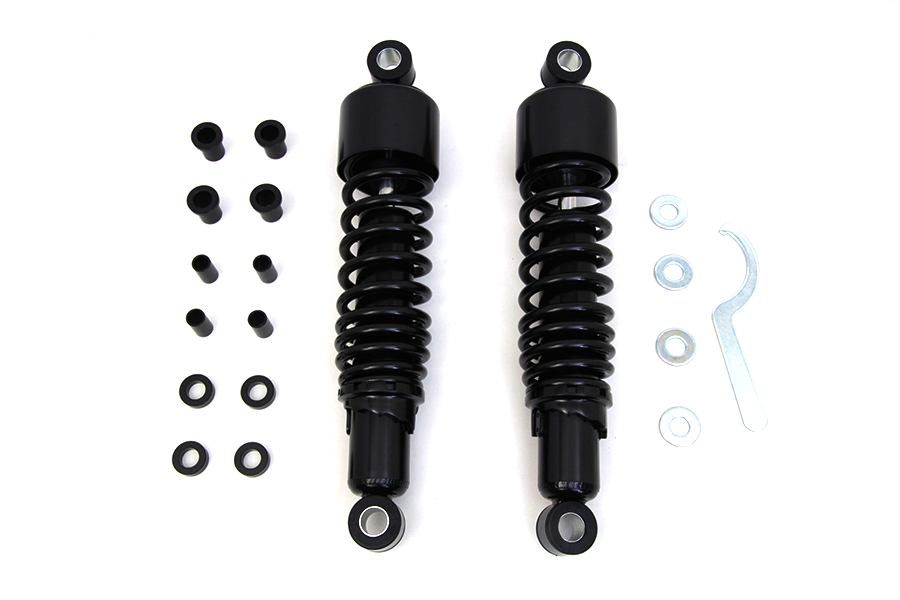
Parts for this job
Check fitment for your own model and year before ordering — add your bike and we will flag what fits.
Other Harley how-to guides
This guide covers procedure and judgement. Torque figures, fluid capacities, gaps and tension settings are specific to your model and year and must come from the factory service manual for your motorcycle — we deliberately do not print numbers we cannot stand behind for your bike. Independent aftermarket retailer, not affiliated with Harley-Davidson, Inc.