 HarleyMotorcycleParts
Replacing the Slammed Rear Shocks on a Street Glide Special (FLHXS)
Low stance from the factory, finishes that show every slip. How to change the shocks without leaving your mark on the bike.
Nobody expects the worst damage from a shock change to be a scar across a black finish, but on this bike that is what many owners end up looking at. A slammed rear means tight working room, and tight room means knuckles and sockets skid into chrome and paint. It also means less travel, so the choice of replacement matters more here than on a taller Touring bike.
Tools
- Painter tape and microfiber towels
- Six-point sockets that fit properly
- Torque wrench
- Frame lift
- Light-duty jack for the swingarm
- Plastic trim scraper for cleaning
- Tape measure
- Service manual
Low means less to spare
A low stance leaves fewer inches between where you sit and where the shock runs out. Factory length and travel also differ across the Touring range, so a part that suits a taller bagger could be entirely wrong on this one.
Decide what you want. Keeping the stance means searching for a length that matches stock, which you confirm from the manual or parts listing. Raising it brings extra room but changes the look, and possibly the reach to the ground. Either choice is legitimate if it is deliberate.
Check your existing sag first, too. On a bike with so little in reserve, setup errors show up as harshness very quickly.
Protect everything first
Spend the first fifteen minutes on tape. Cover fender edges, bag mounts, exhaust shields and any finish around the shocks. Double up where a wrench handle will swing.
Work out where your knees and elbows will go, as well. Most marks on a bike like this come from a belt buckle, a zipper or a tool left on a seat, and very few come from the job itself. So empty your pockets, wear an old cotton shirt, and put a towel over the seat before you begin.
Clean around the mounts before you start. Grit under a tool or towel acts like sandpaper on gloss.
Check your sockets. A worn socket rounds a fastener, and then you are grinding at a coated head beside painted parts. Use six-point tools that fit snugly. And take rings and watches off, because they scratch as well.
Bags, lift, support
Remove both saddlebags and put them on towels. They come off for this job on every Touring bike.
Run your lift under the frame. A low bike can make that awkward, so take time to find the proper point and do not settle for the exhaust just because it is easier to reach.
Slip a light jack below the swingarm with a towel on top, so its saddle cannot mark anything. Bring it up to light contact. Now the swingarm stays put when you free a shock.
Pulling a shock without touching the paint
Find out whether your left shock carries a preload knob, as most M8 models do. If so, start on the right, and leave the knob side for when you have got used to the room available.
Photograph how the shock is installed. Crack the lower fastener loose with short strokes, keeping one hand on the tool head so it cannot jump. Do the top the same way.
Ease the shock out instead of pulling hard. If it hangs on the mount, a slight change of jack height will usually release it. Lay it away from the bike, because it is now a heavy object with sharp edges.
Look over the hole you have just opened up. Bushings should be intact and tight, without perished rubber. Mount surfaces should be free of grooves, and threads should be clean. Sort out anything that fails that test now.
Going back together
Bring the new shock in with a towel draped over the nearest finish, and orient it according to the supplied sheet. Start the top by hand, align the bottom using the jack, and thread that in by hand too.
Take the torque values from your service manual, including any instruction about thread locker. A torque wrench on a low bike often needs an extension, so check how the manual or tool maker says to use it without skewing the reading.
Then do the other side in the same manner, handling any preload adjuster as your manual directs. Check that whatever you reconnected cannot touch hot or moving parts.
After the tape comes off
Remove the tape slowly and inspect under good light. Refit the bags and bring the bike down.
Set rider sag with your helper. Use the knob if you have it, and note the setting. Push down on the rear and look for any contact at full compression, especially given how little clearance this bike starts with.
Ride a route you know, starting slow. Watch for clunks, rubbing or a sudden hard stop over a bump. Then return and recheck the torque on all four fasteners. A second check after a few hundred miles is cheap insurance.
Mistakes that cost money
- Starting without masking the area around the mounts.
- Using a worn socket on a coated fastener.
- Assuming a taller Touring model shock suits a slammed one.
- Lifting from the exhaust because the frame is hard to reach.
- Skipping the compression clearance check.
When to stop
If anything contacts the tire, belt or bag when the rear is pressed down, do not ride it. On a bike with this little room, that contact only gets worse at speed.
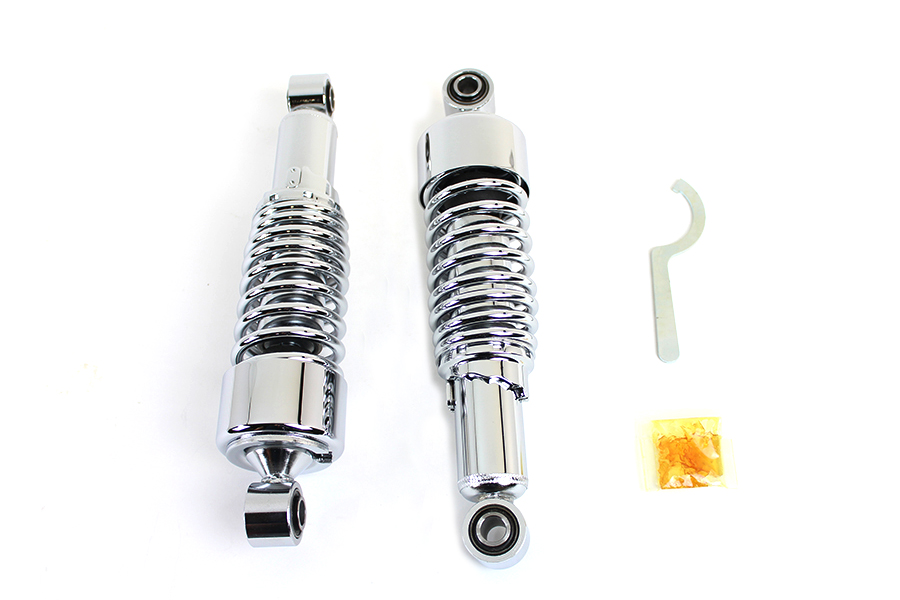
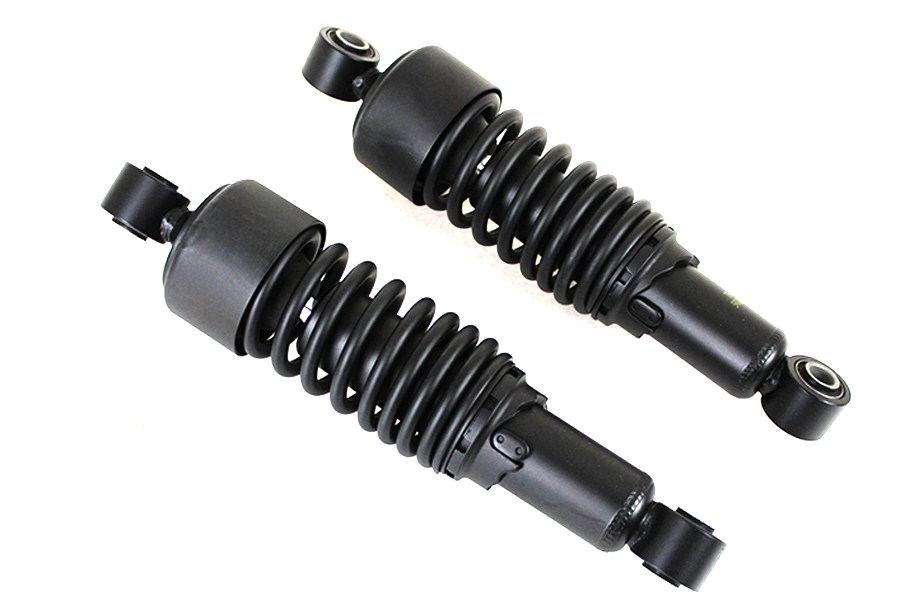
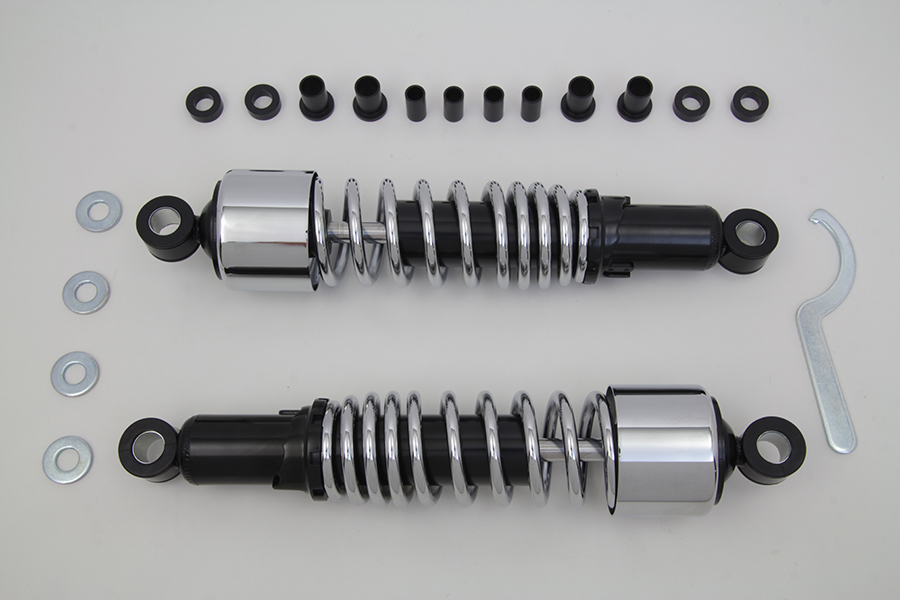
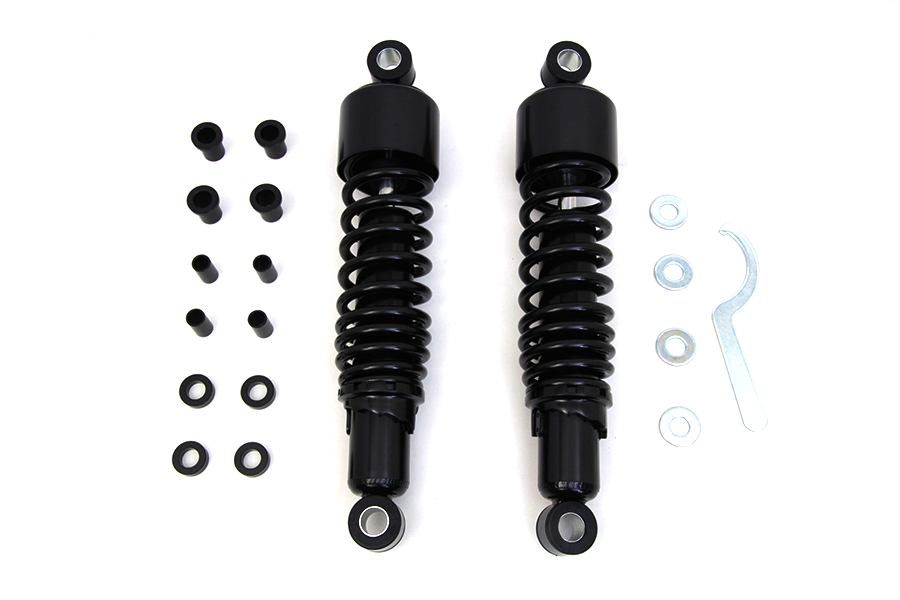
Parts for this job
Check fitment for your own model and year before ordering — add your bike and we will flag what fits.
Other Harley how-to guides
This guide covers procedure and judgement. Torque figures, fluid capacities, gaps and tension settings are specific to your model and year and must come from the factory service manual for your motorcycle — we deliberately do not print numbers we cannot stand behind for your bike. Independent aftermarket retailer, not affiliated with Harley-Davidson, Inc.