 HarleyMotorcycleParts
Road King Special (FLHRXS): New Rear Shocks for a Harsh Factory Stance
Half of the shock advice online is about air valves this bike does not have. What applies to a 2017-up M8 bagger, and what to try first.
Search this problem online and you will be told to check your air pressure. A Road King Special has no air to check. It is M8 only, with emulsion shocks, so a huge pile of forum wisdom simply does not apply. What it does have is a low, blacked-out stance that many owners find harsh over rough pavement, and that complaint has more than one cause.
Tools
- SAE sockets and Torx bits, not metric
- Torque wrench
- Frame lift
- Swingarm jack
- Tape measure
- Painter tape for dark finishes
- Service manual
The harshness question
Low means the shock has less room to work before it runs out. When you feel a hard hit, the question is whether the shock is damping badly or whether you have used all the travel. Those call for different answers.
Sit on the bike with your helper holding it, feet up, and record rider sag between the rear axle and a fixed point above it. Your manual gives the target. Too deep, and you have been riding on the end of the stroke.
Most M8 Touring models have a preload knob on the left shock, so see whether yours does. Turn it through its range before deciding anything, and remember that preload moves your position in the travel without changing how stiff the spring is. If sag can be brought into range and the ride remains bad, a replacement makes sense.
Choosing what you bolt on
Consider what you are asking for. A longer shock may buy travel but raises the stance you paid for. A same-length shock keeps the look and changes only the quality of the movement. Neither is automatically right.
Be careful with fit data. Standard and low Touring models do not share rear lengths and travel, so read the maker's listing for the FLHRXS specifically. Where a listing is vague about this model, treat that as a no.
Weigh yourself in riding gear and be honest about passengers and luggage. The spring has to suit that total.
The job itself
Bags off first. Then guard the blacked-out finishes with tape wherever a socket or the shock body could touch, because dark paint and coatings show every slip.
Clear the floor before the bike goes up. Anything you trip over while carrying a shock past that dark paint will cost you far more than the extra five minutes of tidying did on the day.
Lift under the frame. Check that the bike is stable by pushing on it gently before you commit. Exhaust parts are off limits as lift points.
Bring a jack up beneath the swingarm until it just takes the load. Your aim is a swingarm that cannot fall; you are not trying to raise it.
If yours has a knob, look at what connects it to the left shock before disturbing it, and if there is a hose, note how it is routed and clamped. The manual will explain how that adjuster comes off with the shock.
Remove the right-hand shock first if that side is clear of the adjuster, since it is the simpler of the pair. Lower mount off, upper mount off. Save the washers and their order on a strip of tape.
Before the new one goes on, inspect. Wiggle the bushing, look for cracked rubber, and check the threads and shoulders on both mounts. Worn parts here cause noise you would otherwise blame on the new shock.
Fit the replacement, adjust the jack height until the lower hole lines up with no strain, and thread each fastener by hand. Torque goes to the manual's specification for that exact location and model year. The top and bottom figures may not match, so read both.
With side one finished and tight, move across. Only ever have one shock out at any time. Treat the adjuster side with more patience, and do not let the adjuster dangle unsupported.
Setting it and proving it
Mount the bags again, lower the bike, and compress the rear a few times by pressing down on the seat area. Inspect for contact at the bags, fender and exhaust.
Reset sag from scratch, because a new shock will not necessarily respond the way the factory unit did. Record the knob position that gets you into range, if you have one.
Pick the same broken road that bothered you before. Ride it at the same speed, solo first. You should notice fewer sharp hits and less of that bottomed-out slam. If it now feels floaty, or if it still crashes, go back to the sag numbers before you assume the new part is faulty.
Finally, recheck the torque cold after the first outing, and look once more at the bushings and the adjuster.
Mistakes that cost money
- Hunting for an air valve that an M8 bike does not have.
- Replacing shocks before trying the preload adjuster.
- Letting an adjuster hang unsupported.
- Marring dark finishes with an unguarded socket.
- Assuming a longer shock has no effect on the stance.
When to stop
If you find oil on a shock body, or a damaged mount thread, the bike stays parked until it is fixed. Riding on a mount you already doubt is how a nuisance turns into a crash.
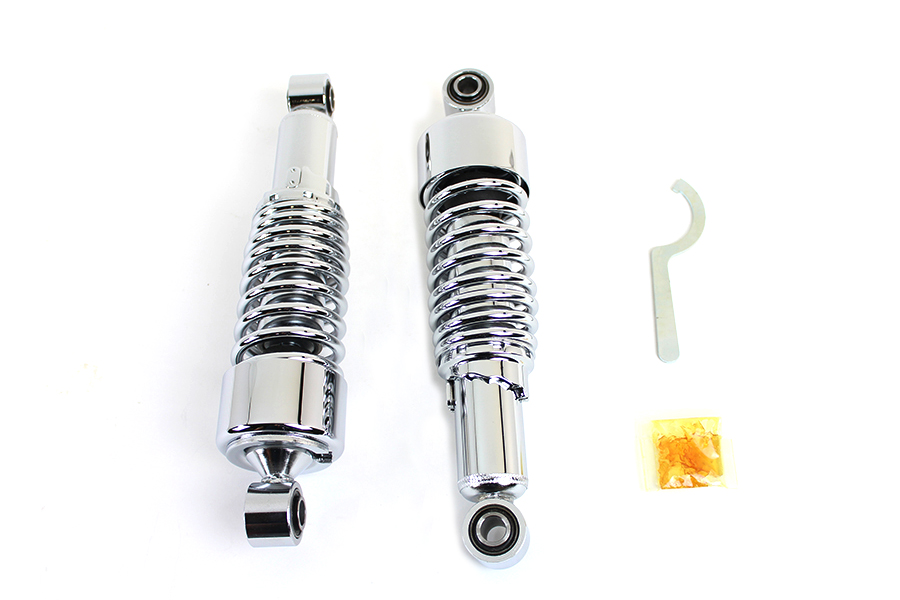
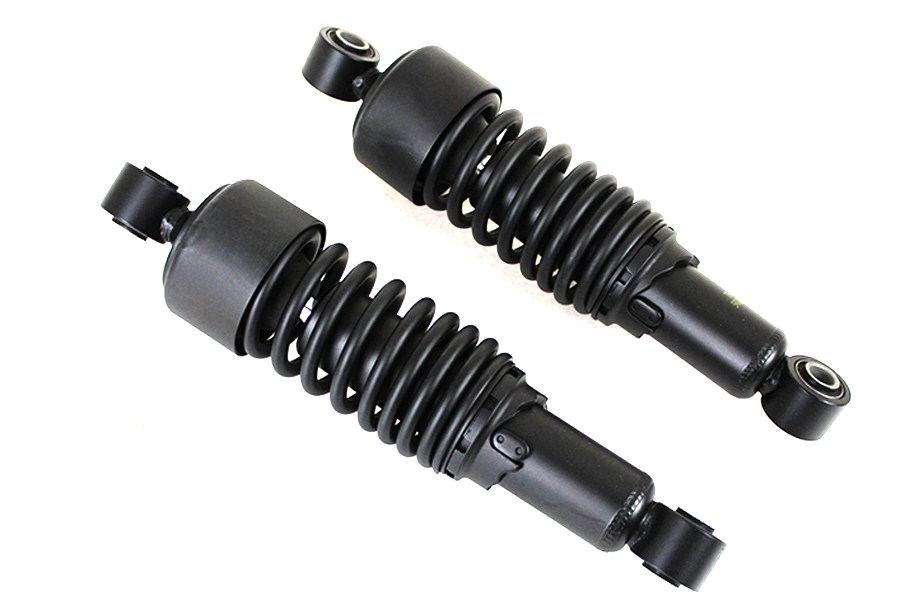
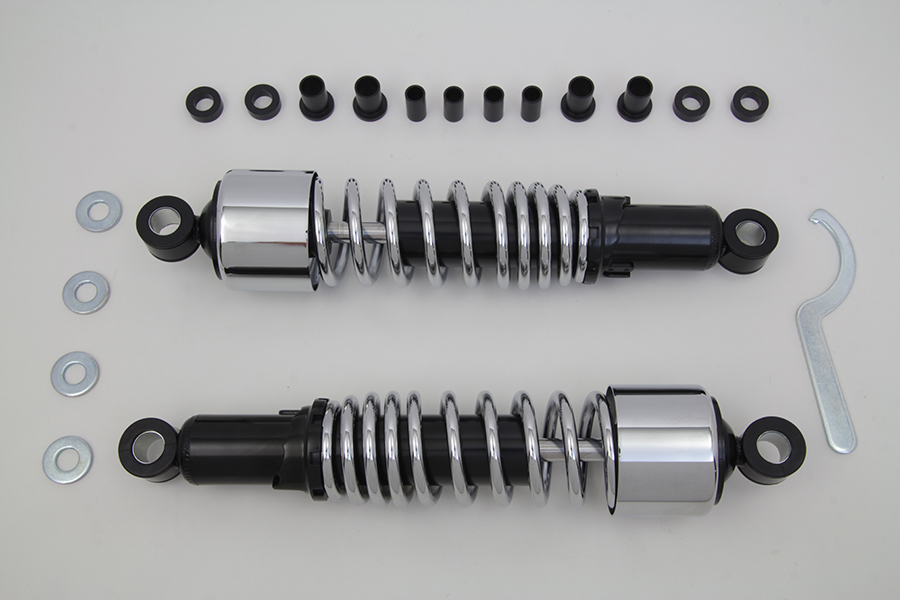
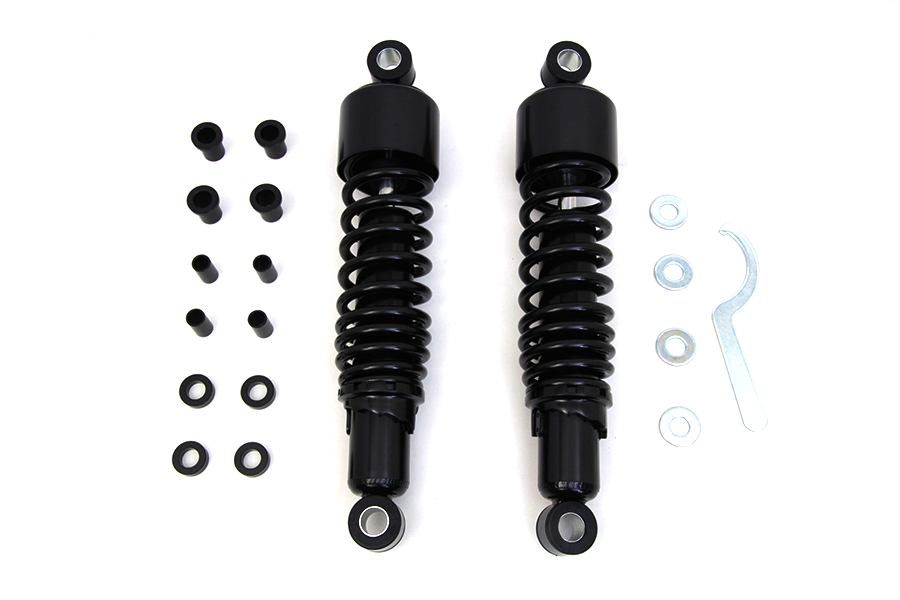
Parts for this job
Check fitment for your own model and year before ordering — add your bike and we will flag what fits.
Other Harley how-to guides
This guide covers procedure and judgement. Torque figures, fluid capacities, gaps and tension settings are specific to your model and year and must come from the factory service manual for your motorcycle — we deliberately do not print numbers we cannot stand behind for your bike. Independent aftermarket retailer, not affiliated with Harley-Davidson, Inc.