 HarleyMotorcycleParts
CVO Street Glide (FLHXSE): A Shock Swap That Leaves the Paint Alone
The shocks are the cheap part of this job. The paint beside them is not. Treat every bag, bolt and tool accordingly.
The biggest risk in this job has nothing to do with suspension. On a CVO Street Glide, it is the premium paint and finish sitting inches from where you will be swinging a wrench. One slipped ratchet can cost more to put right than the shocks did. Mechanically it is a Touring shock swap with a bigger motor up front. So put your thinking into protecting the bike, and treat every piece as expensive.
Tools
- Masking tape, moving blankets, microfiber
- Clean bench and labeled trays
- Quality six-point sockets
- Torque wrench
- Frame lift with clean pads
- Protected swingarm jack
- Service manual
Build a clean workspace
Think like a body shop rather than a garage. Sweep and mop the floor. Clear the bench. Grit on a blanket does as much damage as a tool, and a lone washer on a bag lid will find a way to scratch it.
Set out two blankets for the bags, away from where you are working and any foot traffic. Lay out labeled trays for fasteners, one for each mount. Take off belts with buckles, along with rings and watches.
Decide on a route for carrying parts before you need it. Walk the path from bike to bench with empty hands and move anything in the way. Nothing should have to pass over the tank or fenders, and no tool should ever rest on the seat or a bag lid. Keep a bin for dirty rags, so that a gritty one never gets picked up by accident and wiped across the paint. Clean hands matter as well, so keep a second towel just for those.
Plan for a helper to take the bags from you. Lifting them alone, across a fender, is how a lid edge meets paint.
Masking is not optional here
Empty and remove both bags, then carry them to their blankets immediately. Cover them.
Wash the nearby surfaces gently before you mask; tape on top of dust can abrade. Use tape with low tack on all fender edges and side panels, and lay microfiber over large areas. Anything within a wrench's swing gets covered.
Pad the lift, too. Clean rubber pads on the frame prevent marks, and the exhaust is still never a lifting point, however protected it is.
Choosing and handling hardware
Generic fasteners do not belong on this bike. Reuse the factory hardware if your manual allows it and it is in good condition. If not, order the correct replacements for this model, in the correct finish and grade. A hardware-store bolt beside CVO paint looks wrong and may not be correct for the load either.
Check the fit of the new shocks against your code, FLHXSE, not simply FLHX, and against your year. Lengths vary across Touring models, and any special finish should be judged on the bench before it goes near the bike.
Use six-point sockets without burrs. Any fastener head with a coated finish can be marked by worn tools, so wrap the socket edge with a turn of tape if clearance permits.
The mechanical part
With the frame on the lift and stable, raise a padded jack gently onto the swingarm.
On a bike up to 2016, let the air out at the common valve and separate the line as your manual directs. Keep open ends covered. On 2017-up, check whether a preload knob sits on the left shock, as most models have, and read how it comes off.
Take your first shock off slowly. Photograph how it sits; on a 2014-2016 bike the right-hand unit deserves an extra look, given reports of factory upside-down fitting and the related bulletin, M-1386A. Undo the bottom, then the top, using short and controlled strokes with a free hand guarding the tool. Lift the shock straight out and do not swing it past any painted part.
Inspect what remains. Bushings need to be whole and tight in their bores. Mount surfaces should be clean, without ovaling, and threads sound. Change what is worn.
Carry the new shock in as you would carry a glass, with blankets in place. Set the top, align the bottom using the jack, and thread by hand. Tighten to the manual's torque value. Finish that side entirely before starting the other.
Unmasking and proving it
Reconnect any line or adjuster, and check that nothing touches a painted surface. Pull the tape back low and slow. Wipe everything, then study it under strong light.
Carry the bags back with your helper, refit them, then bring the bike down. Cycle the suspension and look carefully at fender edges and bag gaps. Measure sag and adjust.
Take a gentle ride on a clean road. Check for knocks. Back home, recheck torque with a protected socket, and inspect again a few days later for any new rub marks that appeared once the rear began moving.
Mistakes that cost money
- Working around the bags instead of taking them off.
- Masking over dust.
- Substituting a generic bolt from a hardware bin.
- Lifting a bag alone across the fender.
- Swinging the old shock past painted panels on its way out.
When to stop
If you do mark the paint, stop and do not try to rub it out yourself. Premium finishes need a specialist, and amateur polishing often turns a small mark into a large repair.
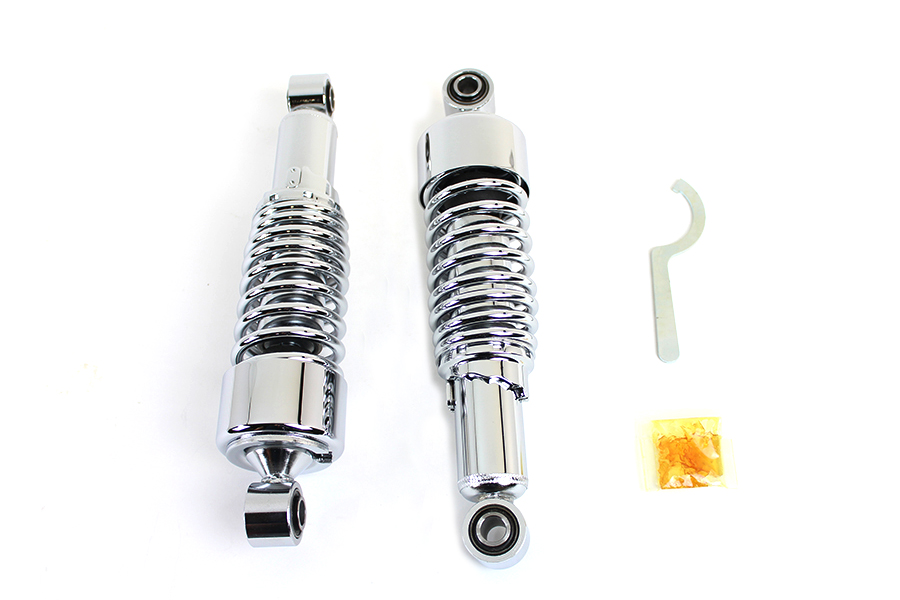
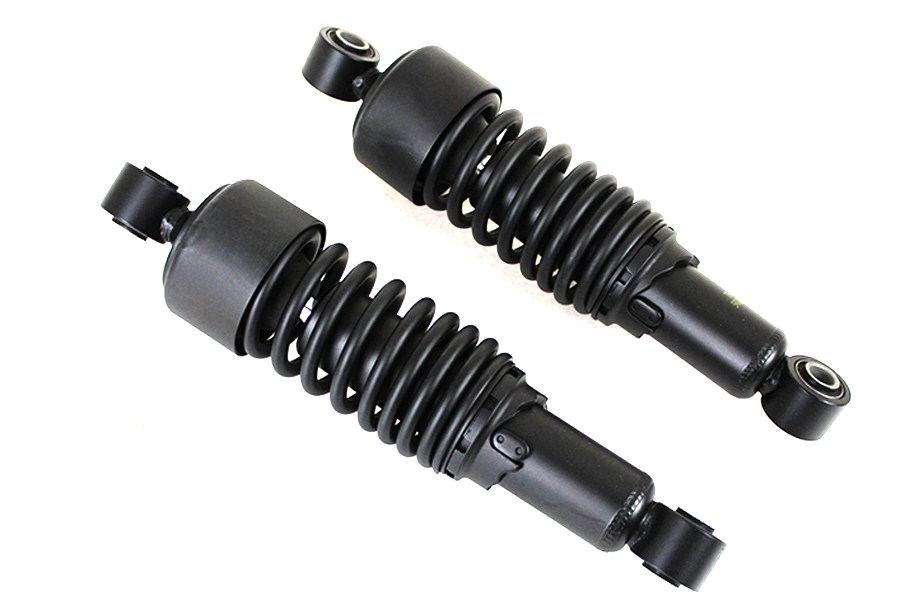
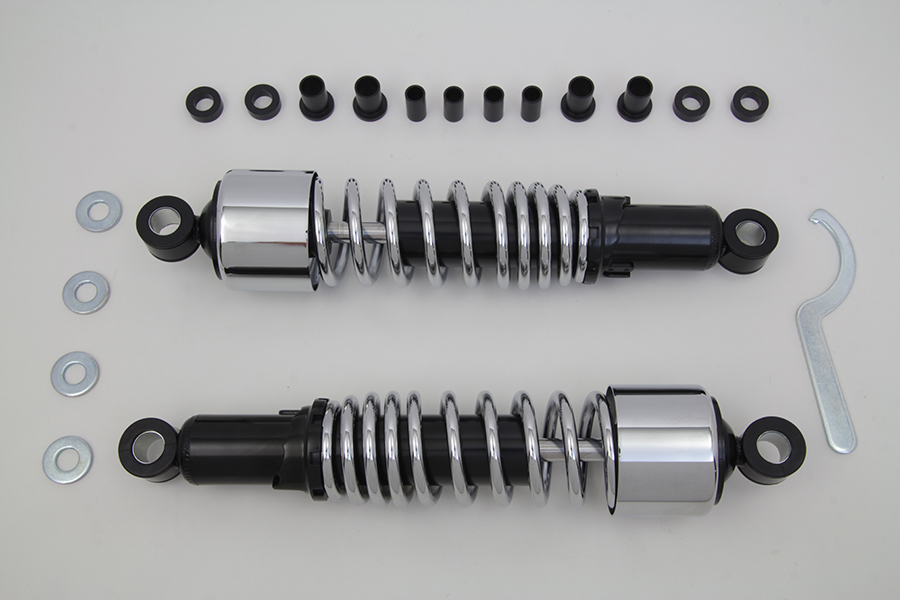
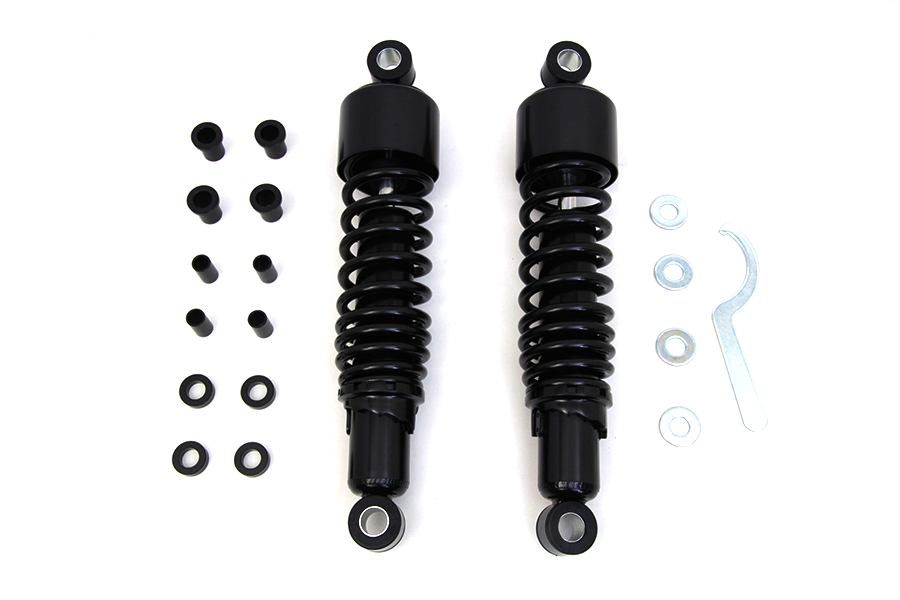
Parts for this job
Check fitment for your own model and year before ordering — add your bike and we will flag what fits.
Other Harley how-to guides
This guide covers procedure and judgement. Torque figures, fluid capacities, gaps and tension settings are specific to your model and year and must come from the factory service manual for your motorcycle — we deliberately do not print numbers we cannot stand behind for your bike. Independent aftermarket retailer, not affiliated with Harley-Davidson, Inc.