 HarleyMotorcycleParts
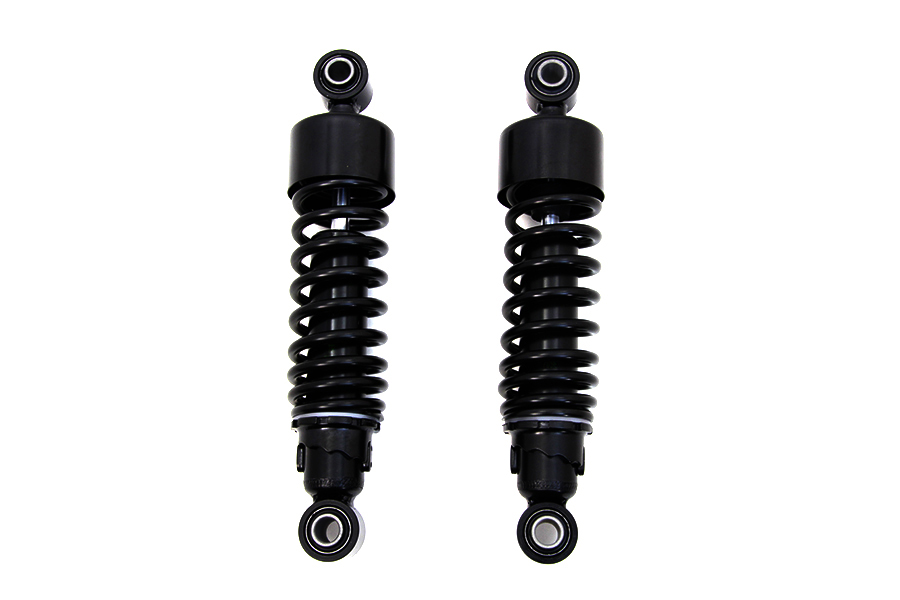
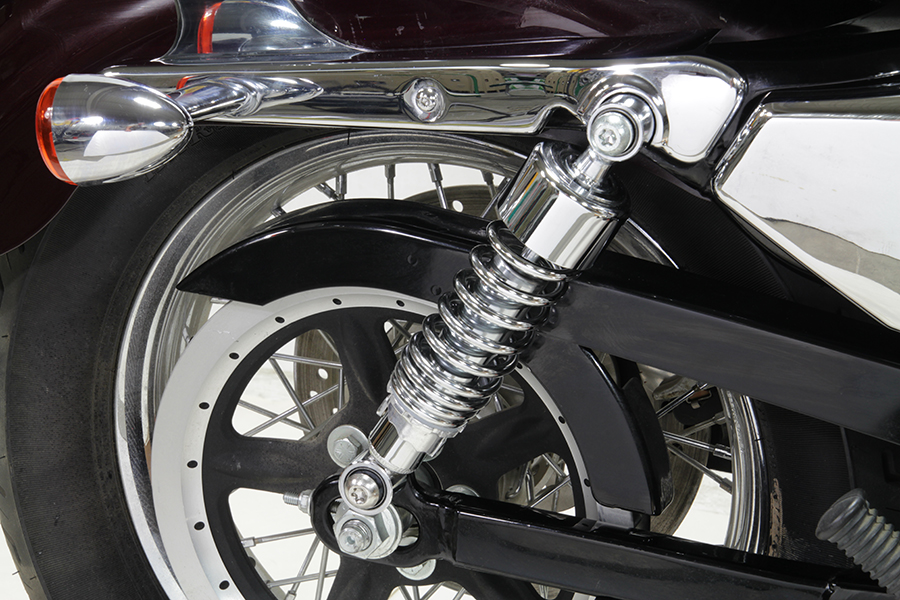
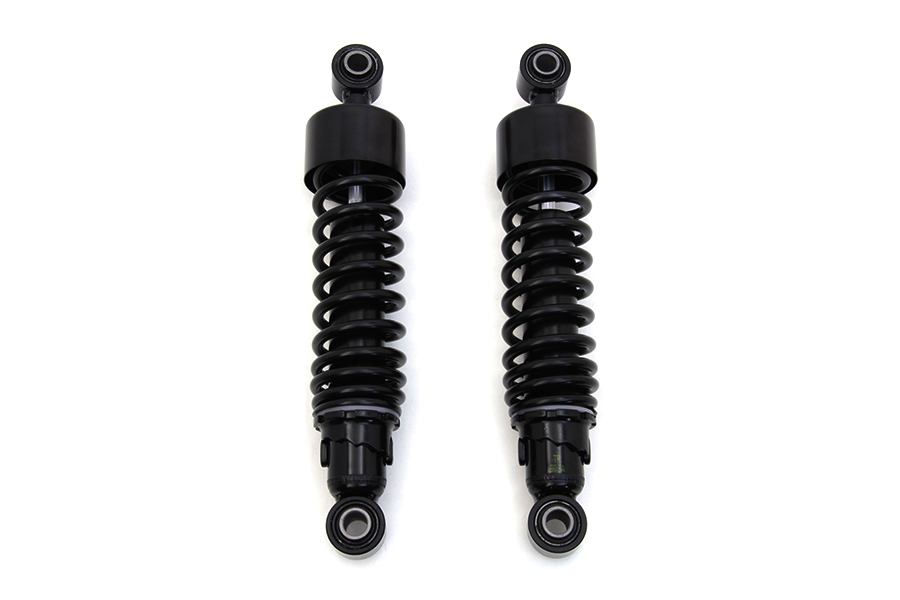
Iron 1200 (XL1200NS) Rear Shock Replacement for Harder Riding
More engine, similar suspension. How to replace the XL1200NS shocks with hard riding in mind.
The mistake is assuming that a bigger engine came with a better back end. Buyers step up from an 883 expecting the extra money bought a whole better chassis, but the stock rear on this XL1200NS is similarly limited. The motor simply gets you to the bad bump quicker and in a harder mood. That gap between engine and suspension is what you are closing here, so the job begins with how you ride, not the catalogue.
Tools
- SAE wrenches
- Torque wrench
- Frame jack
- Straps
- Bright flashlight
- Service manual
Where the limit shows up
Think back to your last quick road. Does the back step sideways over a ripple halfway through a bend? Does hard acceleration out of a corner bring a pogo motion? Those are control problems, and they are where this model shows its short rear travel most.
A shock with better damping addresses them more directly than a softer spring would. Softness can be pleasant at low speed but is unlikely to help when you are carrying speed into broken pavement.
One useful detail is the solo seat. If nobody else ever sits on this bike, you can match the shock to one rider's weight rather than compromising.
Height and hard parts
Keep the side view in mind too. Hard riding uses up cornering clearance, and that changes with length. Fit a shorter shock and you touch down sooner and bottom more readily. A longer shock can buy clearance, but it can also alter the belt tension reading and the lean on the side stand.
Standard length from your manual is the sensible baseline. Move away from it only with a reason you can state in a sentence.
Cold bike, frame support
Let the pipes cool properly, then put the jack under the frame itself. The mini-ape bars raise the centre of weight a little and give the bike leverage as it rocks, so strap it securely.
Stop lifting when the rear wheel is on the verge of leaving the floor. Slide a block beneath the tyre for adjustment. This is a small, light Harley compared with a Big Twin, which makes people careless about its support. Do not be one of them.
Pulling the units
Decide which shock goes first by looking at the exhaust. If the pipes limit your socket on that side, do it while you are fresh, perhaps using a shallower tool or a spanner rather than a full socket.
Back off the upper fastener and then the lower one, and collect the hardware in sequence. The remaining unit keeps the swingarm in position; that is why you should never have both unbolted together.
Set the old shock on the bench and compress it by hand as far as you can. If it moves freely and returns with no resistance, you now have good evidence that it was tired.
Flashlight inspection
Shine a light along the exposed fixing. You are looking for wear from the eye, thread damage, or any looseness where it joins the frame or swingarm. Hard riders ask more of these points than commuters do.
Check the bushings for splits and distortion. A hard, cracked bushing allows a little free movement that you will feel as vagueness in a bend. New shocks deserve new rubber if the old stuff is suspect.
Fitting for control
Offer the new shock to its mounts with the wheel block set so that nothing fights you. Fit the hardware in its original order, finger-tight to begin with.
Use the torque the service manual lists for your model year. Then replace the other side the same way. Identical preload left and right is important here, since uneven settings can make the bike feel unsettled through fast bends.
If your new shocks have a damping or preload adjuster, begin at the setting the maker recommends for your weight, not at a position somebody praised online.
Testing without showing off
Set sag with a helper before leaving: extended measurement first, then with you on board, using the same two points. The target should come from the shock maker or the manual.
Write the result down along with the date and your riding gear. Hard riders tend to fiddle, and without a record you soon cannot say which setting felt good. A written baseline gets you back there in minutes when an experiment turns out to be a bad idea.
Bed things in on a few gentle miles. Listen and look for contact. Then return to the road you started with and ride it at your usual pace, not a faster one. Change one setting at a time.
When you get home, look over the mounts, retorque if the manual allows and check the belt. New suspension does not make the road or the bends any more forgiving.
Mistakes that cost money
- Assuming the 1200 came with better suspension than the 883.
- Going softer to fix a control problem.
- Treating a lighter bike casually on the jack.
- Setting left and right preload differently.
- Testing new shocks by riding faster than before.
When to stop
If the rear still steps out or the bike moves strangely in corners after the swap, slow down and go over the mounts, bushings and swingarm with a shop. Do not simply assume the shock needs time to settle.
Parts for this job
Check fitment for your own model and year before ordering — add your bike and we will flag what fits.
Other Harley how-to guides
This guide covers procedure and judgement. Torque figures, fluid capacities, gaps and tension settings are specific to your model and year and must come from the factory service manual for your motorcycle — we deliberately do not print numbers we cannot stand behind for your bike. Independent aftermarket retailer, not affiliated with Harley-Davidson, Inc.