 HarleyMotorcycleParts
Wide Glide Primary Chain: Adjusting the Old Ones, Inspecting the New Ones
The Wide Glide ran through both Dyna primary designs. Forward controls make the cover easy to reach. Here is how to check, set and replace the chain.
The Wide Glide has been around long enough to cover both Dyna primary designs, and forward controls leave its primary cover more open than on most Big Twins. That makes it a good bike to learn this job on. A quick clarification before we start: the Wide Glide's rear wheel is belt-driven, and a belt is never lubricated. The chain this page is about sits inside the primary case on the left, driving the clutch from the engine.
Tools
- Service manual for your year
- Torch
- Drain pan
- Primary locking tool or wedge
- Torque wrench and breaker bar
- Threadlocker
- New cover gasket or seal
- Correct primary fluid
- Rear stand or lift
Two Wide Glides
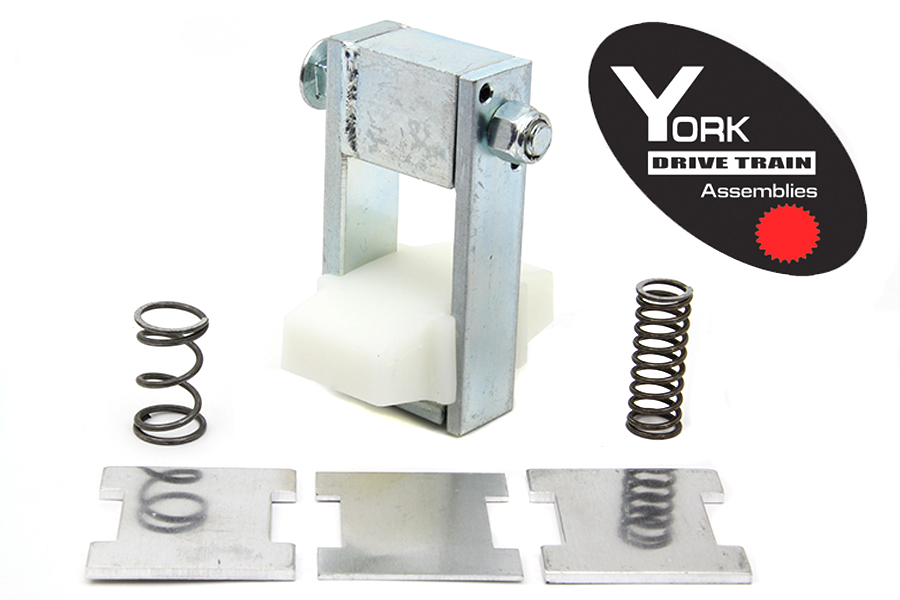
1991 to 2005 Dyna Wide Glides use a MANUAL adjuster: a nylon-faced shoe on a bracket under the lower run of the chain. You loosen a locknut, move the shoe and re-lock.
From 2006 the Dyna got an AUTOMATIC spring-loaded hydraulic tensioner, a year ahead of Softail and Touring bikes. A 2006-up Wide Glide has no slack to set.
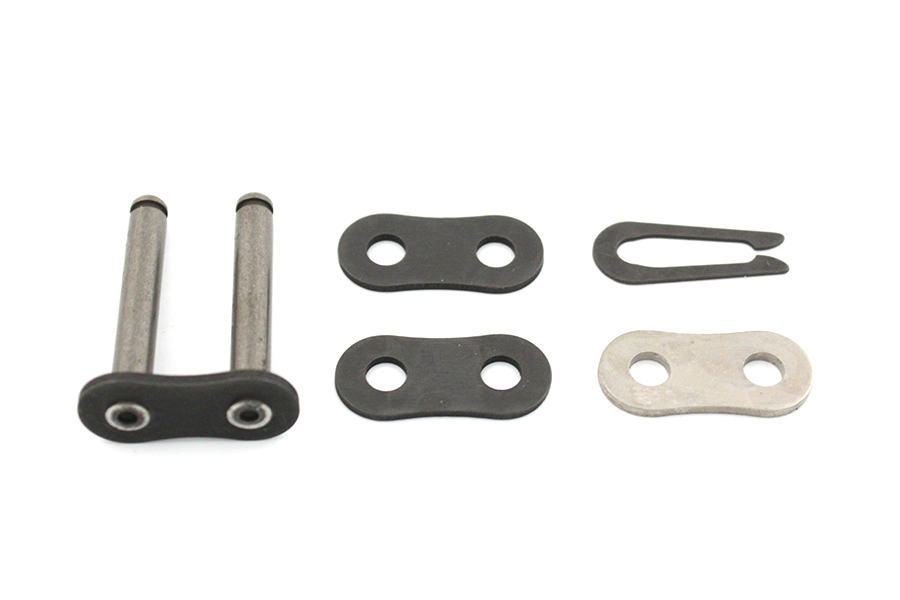
Our catalogue lists an 82-link chain for FXD 1991-2005 and a 92-link for FXD 2006-2017. Check year and fitment before ordering.
Forward controls: the access bonus
With the footpegs and shifter moved forward, the area directly over the primary cover is clearer than on a floorboard bike. You will still need to move the shifter linkage, which runs past the primary to reach the forward lever, so photograph it first and remove only as much as the manual says.
A rear stand or lift helps a lot here. You will be turning the rear wheel in top gear to rotate the engine, and doing that with the bike on its side stand is awkward and unsafe.
If your Wide Glide has been converted to mid controls or a different shifter, follow what is actually on the bike, not the stock layout in the manual pictures.
Symptoms
A slap or rattle on the left at idle that changes when you pull in the clutch. Jerky take-up. A shoe grooved right through. Metal flake on the drain plug magnet. On an older bike, a chain that has used up all the adjuster's travel.
A clunk at start-up or switch-off on a 2006-up Wide Glide could be the compensator. That is related but separate, and needs its own diagnosis.
Setting slack on a 1991-2005 bike
Take off the inspection cover. Get the free-play figure from the manual. There are two: COLD and HOT. Use the figure that matches the engine as it is right now. A cold engine checked against the hot number ends up wrong.
On the stand, in top gear, turn the rear wheel to rotate the engine. Stop at four or five places around the chain and feel the up-and-down play on the upper run. Write each down if you need to. The smallest number is the tightest spot.
Set the adjustment there. Loosen the locknut, slide the shoe to bring the slack to the manual's figure, re-lock, then go round again to confirm nothing is now too tight.
If the shoe is at the end of its range and the chain is still slack, the chain has stretched too far. Adjusting further is not possible; it needs replacing.
Old chain, new chain: what the early bikes teach you
On a 1990s Wide Glide that has done a lot of miles on its original chain, you may find slack varies a lot from one point to another as you rotate the engine. That is uneven wear, and it is exactly why the tightest-spot rule exists. Set it at a loose spot and the tight spot ends up loading the bearings every time it comes round.
If the slack difference between tightest and loosest is large, take that as a warning. The chain is close to the end of its useful life even if the adjuster still has some travel left.
Inspecting a 2006-up bike
Torch through the inspection opening. Check the depth of grooving on the shoe and look for chain plates that are rubbing bright. That is the full routine inspection.
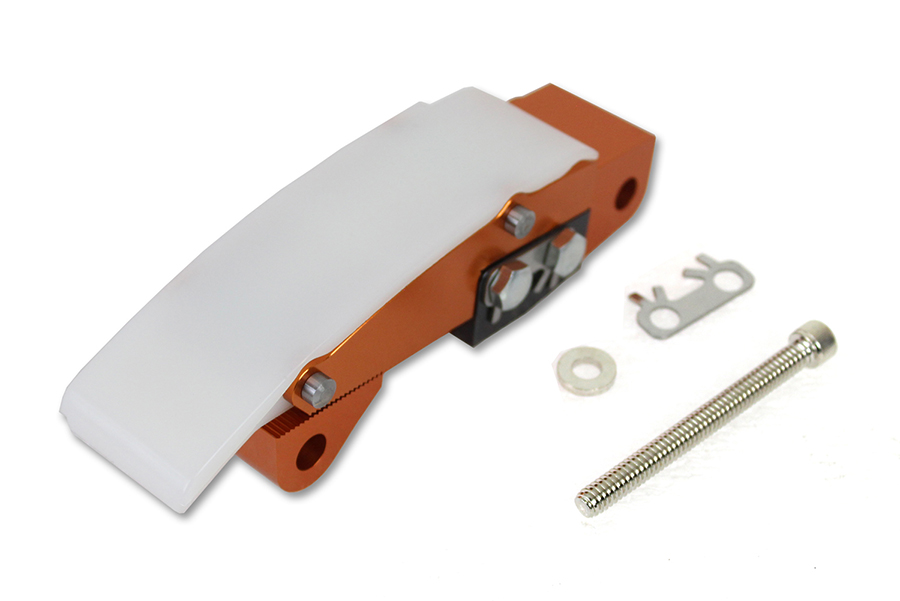
Riders who miss the old manual setup can fit a conversion. Our catalogue lists kit 18-8328 for FXD 2006-2017.
Replacement
Battery negative off. Drain the primary fluid; it is separate from your engine oil and your transmission fluid. Remove the shifter linkage as needed, then the outer primary cover.
Back off the manual adjuster on an early bike, or retract and retain the automatic tensioner using the manual's method on a later one. Lock the drive with a sprocket locking tool or a wedge between the sprockets. Loosen the compensator nut and the clutch hub nut. The clutch hub nut on a Big Twin is LEFT-HAND thread.
The stock chain is endless, so the engine sprocket, chain and clutch basket come off together. Keep steel tools clear of the alternator rotor behind the compensator; the magnets grab them.
Reassembly
Fit the new assembly, threadlocker and torque from the manual. Set slack at the tightest spot (early) or reset the tensioner (late). New gasket or seal, cover on, refill with the right primary fluid to the manual's level. Check clutch adjustment, refit the linkage and confirm the forward shifter selects every gear cleanly.
Ride it gently, listen at idle with the lever in and out, look for weeps, and on an early bike recheck slack cold.
Mistakes that cost money
- Checking slack at a single point.
- Using the hot figure on a cold engine.
- Rotating the engine with the bike on its side stand.
- Ordering a chain without confirming the year.
- Undoing the left-hand clutch hub nut the wrong way.
- Adjusting a shoe that is out of travel instead of replacing the chain.
When to stop
If the shoe has run out of travel, has worn through, or the fluid is full of metal, stop and replace rather than adjust. A stretched primary chain can jump its sprockets and lock the drive.
Parts for this job
Check fitment for your own model and year before ordering — add your bike and we will flag what fits.
Other Harley how-to guides
This guide covers procedure and judgement. Torque figures, fluid capacities, gaps and tension settings are specific to your model and year and must come from the factory service manual for your motorcycle — we deliberately do not print numbers we cannot stand behind for your bike. Independent aftermarket retailer, not affiliated with Harley-Davidson, Inc.