 HarleyMotorcycleParts
Super Glide (FXD) Primary Chain: Manual or Automatic?
The base Dyna changed primary design in 2006, a year before the rest of the range. A used Super Glide can be either. Here is both.
The Super Glide is the plainest Dyna, and that makes the primary easy to get at. What makes it tricky is the calendar. The Dyna changed to an automatic primary tensioner for 2006, a year before Softails and Touring bikes did, so a used Super Glide could be either kind. Final drive on the Super Glide is a belt and needs no oiling. The chain you service is the primary inside the left case.
Tools
- Service manual for your year
- Torch
- Drain pan
- Primary locking tool or wedge
- Torque wrench and breaker bar
- Threadlocker
- New cover gasket or seal
- Correct primary fluid
2005 or 2006? That is the question
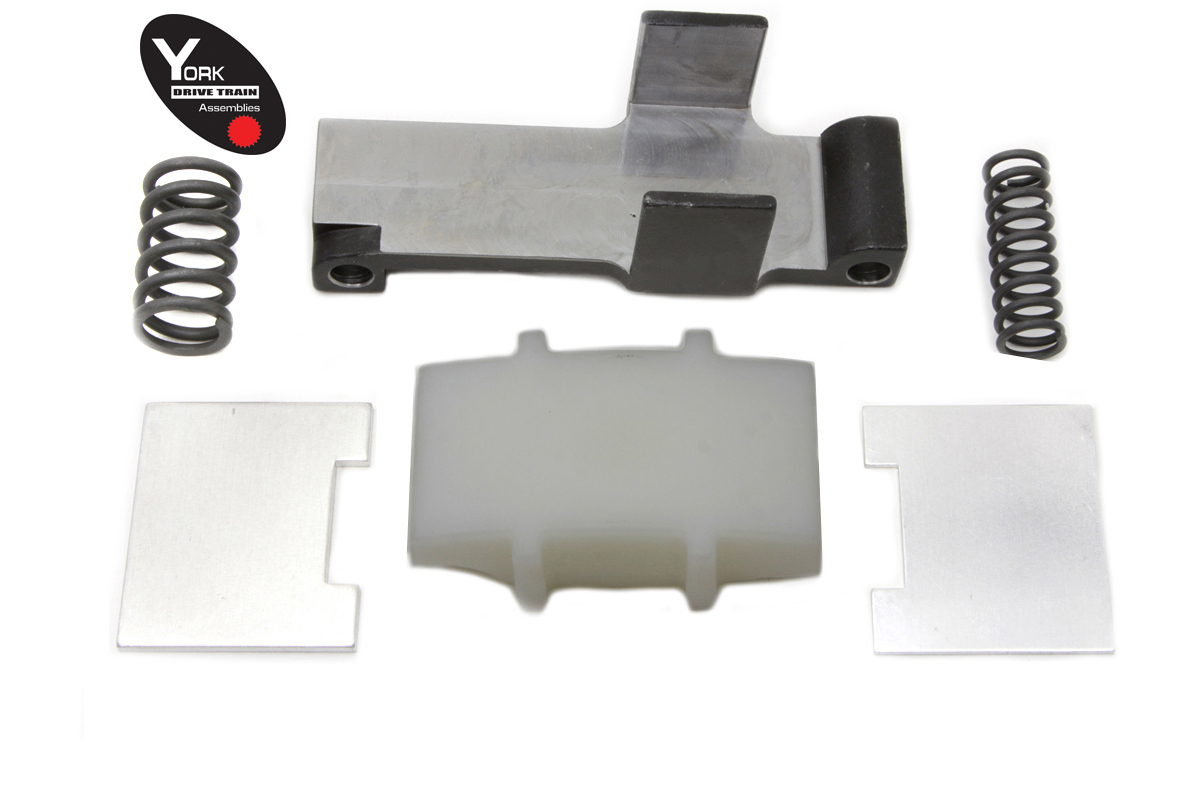
Find the model year on the frame tag or the title. Up to and including 2005: MANUAL adjuster, a nylon-faced shoe on a bracket under the lower chain run. 2006 on: AUTOMATIC spring-loaded hydraulic tensioner.
The chain changes with it. Our catalogue lists an 82-link chain for FXD 1991-2005 and a 92-link for FXD 2006-2017. Order by year, confirm against fitment, and do not trust what a seller wrote on a listing.
Symptoms
A slap from the left side at idle that changes with the clutch lever, jerky take-up from a stop, a shoe grooved through its face or metal on the drain plug magnet. On a manual-adjuster bike, a chain that has stretched past the end of the adjuster's range is the last sign.
On 2006-up bikes, a clunk at start-up or shut-down can be the compensator. That is related to the primary but a separate fault, so do not assume a chain cures it.
Do not wait for all of these to show up together. Any one of them on a Super Glide you have just bought is reason enough to pull the inspection cover and look. On a base-model bike that has often been ridden hard and serviced cheaply, it is common to find the primary is the part nobody got round to.
Metal on the magnet with no noise at all still counts. Noise tends to come late.
Checking and adjusting a 1991-2005 Super Glide
Remove the chain inspection cover. Your manual gives one free-play figure for a COLD engine and another for HOT. Pick the one that matches.
In top gear, turn the rear wheel to rotate the engine and check the slack at several points. Adjust at the tightest spot you find, never at a loose one.
Loosen the adjuster locknut, slide the shoe to bring slack to the manual figure, re-lock the nut and check again at the tightest point. If the shoe runs out of travel, the chain is finished.
Inspecting a 2006-up Super Glide
No adjustment. Look in through the inspection opening at the shoe face and the chain plates. Deep grooving or a shoe worn through means parts.
If you would rather set the slack yourself, a manual-adjuster conversion is an option. Our catalogue lists kit 18-8328, which covers FXD 2006-2017.
Opening the primary
Battery negative off. Drain the primary fluid - it is separate from engine oil and transmission fluid. Remove the left footpeg or floorboard and the shifter linkage as far as needed, then the outer primary cover.
On a 2006-up bike, retract or retain the automatic tensioner using the manual's method. On an earlier bike, back the manual adjuster off.
Lock the drive with a sprocket locking tool or a wedge between the sprockets. Loosen the compensator nut and the clutch hub nut. The clutch hub nut is LEFT-HAND thread.
Out and in as one assembly
The stock chain is endless, so engine sprocket, chain and clutch basket come off together and go back together. Do not try to split the chain. Keep loose tools away from the alternator rotor behind the compensator; its magnets will grab them.
Fit the new assembly, threadlocker and torque per the manual. Set slack at the tightest spot (manual era) or reset the tensioner (automatic). Fit a new gasket or seal - the manual says which type - and refill with primary fluid to the manual's level. Check the clutch adjustment.
Buying a used Super Glide
Because the Super Glide spans both primary designs, the seller's description is not enough. Find the year on the frame tag yourself. If it is a 2005 or earlier, ask when the primary slack was last set. If it is a 2006 or later, ask when the primary was last opened at all.
Listen at idle in neutral, clutch lever in and out. Pull away from a stop several times and feel the take-up. Look at the outer primary cover for weeps along the gasket line.
On an early bike, a seller who has had the inspection cover off recently can usually tell you where the adjuster is set. One who looks blank probably never touched it. On a later bike, a long-ignored automatic tensioner can still be fine, but the shoe is the only way to know, and that means an inspection after you buy.
If the price allows for it, budget for a primary fluid change and inspection on day one, whichever era you buy. It is cheap insurance.
Road test
Idle in neutral and listen with the lever in and out. Ride a short loop with a few stops. Check for leaks. On a pre-2006 bike, let it go cold and recheck slack against the cold figure.
Mistakes that cost money
- Assuming a 2006 Super Glide has a manual adjuster like the Softails of that year.
- Ordering the 82-link chain for a 2006-up bike.
- Adjusting slack at a loose spot.
- Turning the left-hand clutch hub nut the wrong way.
- Trying to split an endless chain.
When to stop
If you find the shoe worn to its bracket or chunks of metal in the fluid, stop and inspect the sprockets, basket and case before ordering parts. A primary that seizes on a Dyna locks the rear wheel.
Parts for this job
Check fitment for your own model and year before ordering — add your bike and we will flag what fits.
Other Harley how-to guides
This guide covers procedure and judgement. Torque figures, fluid capacities, gaps and tension settings are specific to your model and year and must come from the factory service manual for your motorcycle — we deliberately do not print numbers we cannot stand behind for your bike. Independent aftermarket retailer, not affiliated with Harley-Davidson, Inc.