 HarleyMotorcycleParts
Replacing the Fuel Line on a Road King (FLHR)
No fairing means you can see the whole line. It does not mean the job is simple.
With no fairing in the way, a Road King shows you its fuel line in plain daylight, and that is exactly what fools people. It looks like a bit of hose, so they treat it like one. Before 2007 this model came with a carburettor or with injection depending on trim, and those two lines have nothing in common. One sits under gravity. The other holds high pressure.
Tools
- Fuel line disconnect tool that suits your fitting
- New model-year-correct line
- New O-rings
- Sealed fuel-safe can and rags
- Extinguisher rated for fuel fires
- Service manual
Which Road King is parked in front of you
Crouch beside the tank and follow the line down from it. A petcock with a hose leading to a carburettor means gravity feed. A line ending in a quick-connect fitting with a sliding sleeve, feeding a throttle body, means an electric pump lives inside the tank. On a 2007 or newer bike you are on the injected side regardless.
A second clue if the first is unclear: switch the key on in a quiet garage and listen. An injected bike primes for a moment, then goes silent. A carb bike makes no such sound.
Reading an exposed line before you buy
Since nothing hides this line, give it a proper inspection while the engine is off and cold. A stain on the frame under one joint usually means the seal there, whereas a damp patch along the run points at the line itself. Rub marks tell you it has been touching something, and whatever it touched will wear the new one as well. Fix that contact when you refit it.
Road Kings often get ridden solo and bagged in the same week, so also look at the line with the bike as you normally load it. The bags themselves can stay on throughout this work.
Getting the bay ready
Do this with the engine stone cold and the door wide open, or better, outdoors. Gasoline vapour travels along the floor and a hot pipe can light it. Water heaters, pilot lights, cigarettes and sparking trouble lamps all stay well away. An extinguisher rated for fuel fires goes between you and your way out, and the sealed can for drained fuel sits ready.
Photograph the line from both sides now. Being able to see it all is the Road King's gift, so use it, and record every clip and every bend before anything moves.
Injected bikes: pressure out before anything else
Follow the purge procedure in your service manual first. In outline, you pull the pump fuse or connector, run or crank the engine until it dies, and leave the pump disconnected. Harley's own paperwork describes this as purging the line of high-pressure gasoline. If the engine ran, let the pipes go cold again before your hands go near them.
Only after the purge does the battery negative come off, since you needed the battery to crank. Wrap the terminal so it cannot flop back.
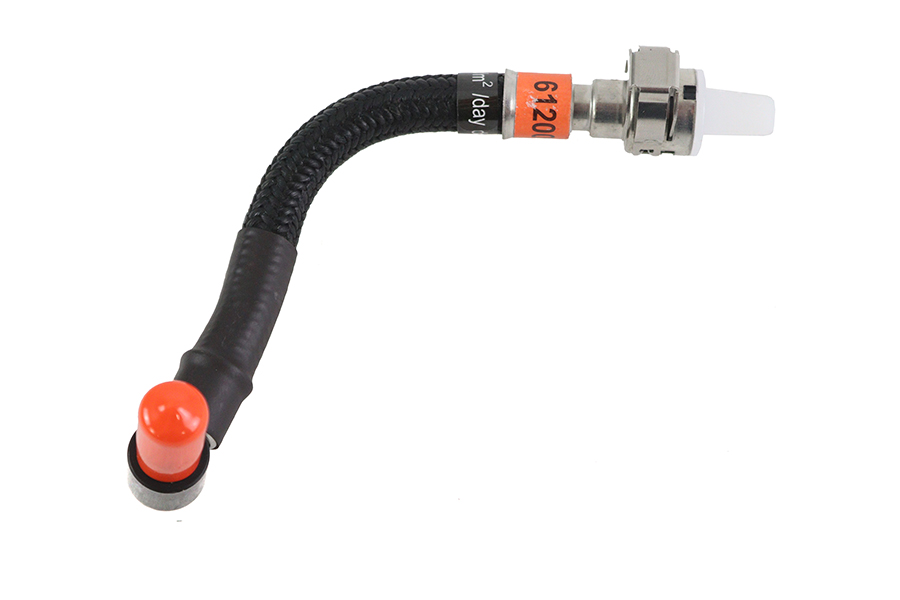
Hold a rag under the tank fitting. Work the sliding sleeve with the push and pull action the manual describes, using a disconnect tool if yours calls for one, and ease the line away. Expect a dribble. Cap or plug the open port.
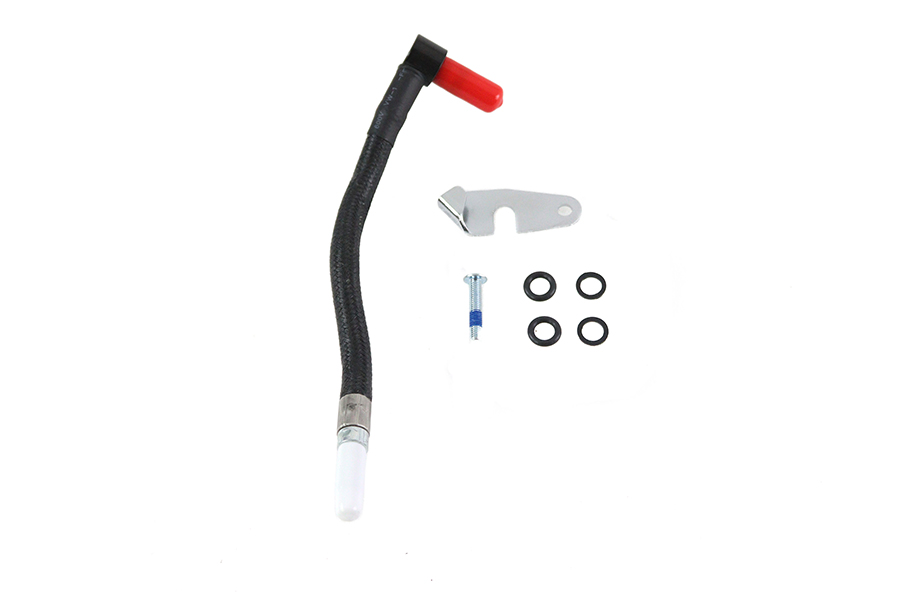
Free the line from its clips and release the far end as your manual directs. Lay the new line beside the old one on the bench and compare shape and fittings. Our catalogue splits FLT lines by year, 2002-06, 2008-16, 2012-16 and 2017-20, so a look-alike from another span is not a safe bet.
Fit new O-rings at each fitting. They are single-use and they are the usual source of a leak, so reusing one to save a trip is false economy. Push the fitting home until it locks, then pull back on it firmly to prove it did.
Never bridge a damaged pressure line with hose and clamps, not even to limp home. It is the correct formed line with its proper fittings, or the bike stays put.
Carburetted bikes: the gentler version
Close the petcock, disconnect the battery all the same, and slacken the clamp at the carburettor end with the can underneath. Let the hose drain, then take it off the petcock end. Cut new fuel-rated, ethanol-tolerant hose to the old length, using proper clamps. Route it clear of heat with no kinks. Any O-ring you disturb gets replaced too.
The leak test, in the right order
Refit the pump fuse or connector, then the battery last. Have a helper turn the key on without starting, while you watch each fitting with a dry rag and a torch. Key off, look again, then cycle it once or twice more. A carb bike gets the same inspection after the petcock opens.
Any wetness or fuel smell means you stop, purge again and redo that joint. Dry after repeated priming? Start it, recheck at idle, and again once warm. Pump-module lines inside the tank are a different job, covered in our Fuel Filter and Fuel System Service guide.
Mistakes that cost money
- Assuming a pre-2007 Road King is carburetted, or injected, without looking.
- Pulling the battery before the purge, then having no way to crank it.
- Reusing an O-ring because it looked fine.
- Ordering a line from the wrong year span.
- Pressing the starter before watching the fittings through key-on priming.
When to stop
Hand it to a shop if a fitting will not lock, if the fuel smell survives a redo, if the tank port is damaged, or if you cannot get a clean purge. A leak here sits right above hot metal.
Parts for this job
Check fitment for your own model and year before ordering — add your bike and we will flag what fits.
Other Harley how-to guides
This guide covers procedure and judgement. Torque figures, fluid capacities, gaps and tension settings are specific to your model and year and must come from the factory service manual for your motorcycle — we deliberately do not print numbers we cannot stand behind for your bike. Independent aftermarket retailer, not affiliated with Harley-Davidson, Inc.