 HarleyMotorcycleParts
Street Bob FXBB Monoshock: Replacing It on the 2018-Up Softail
This is not the Dyna Street Bob, and most of the advice you will find online is about that other bike.
Search for Street Bob shocks and you will wade through pages about two exposed shocks on a Dyna, which your FXBB does not have. Same badge, different motorcycle. Look at yours: no shock on either side, because one unit sits under the seat. The other misconception is that a harsh ride here must mean a bad shock, when short travel and setup play a part too.
Tools
- Rear stand or lift
- SAE and Torx sockets
- Torque wrench
- Tape measure
- Helper for sag
- Whatever tool your preload adjuster needs
- Service manual
Rule out the other Street Bob
Check the code on your registration. FXBB means this page. FXDB means the Dyna, which has a shock on each side you can touch without tools. The two have nothing in common at the rear, so a seller's 'Street Bob shock' tells you nothing until it names the code.
Filter anything you read online the same way. Forum advice about lengths and spacers is very often written about that older bike.
Why it feels harsh, and what to try first
Owners of this mini-ape bobber commonly want more height, and the reason is usually a harsh ride over short travel. Before you buy, spend half an hour on sag. If you are sitting too deep because the preload is too low, you may be running out of travel on medium bumps, and that feels just like a stiff shock.
Look at your adjuster, then read your manual's description of it. These bikes vary across model and year, and you need to work with the one you have. Set preload, measure, and ride the same road again. That costs nothing, and sometimes it solves the complaint.
If sag is right and the bike still hammers you, the spring rate may be wrong for your weight, or you may want a shock with different travel or length. Now a purchase makes sense.
If you are raising it
A longer shock can do what you want, but it changes more than the ride. Seat height goes up, so check your reach to the ground. Side stand lean changes too, and a stand that was fine may now leave the bike too upright. Belt and fender clearances should be looked at afterwards.
Ask the seller to state length and travel in writing for FXBB, and read what they say about fitment. Anything sold as 'for 2018-up Softails' covers a range of models and not all of them will suit.
Sit on the bike with both feet down before you commit, and imagine it taller. Mini-ape bars put your hands high already, and a higher seat changes how the reach feels at a stop as well as on the move. If you can, try a friend's raised bike first.
Getting to it
Put the bike on a lift or stand on level ground and make sure the rear is held up firmly. Start with the seat. From there your manual's order applies. Typically, you will be working near the battery tray area and at some side pieces, so disconnect and move only what it lists. If the battery has to shift, follow the manual on the disconnect sequence.
A good habit is taking a picture before each step. With wiring in a small space, the picture saves you an hour when reassembling.
Out with the old unit
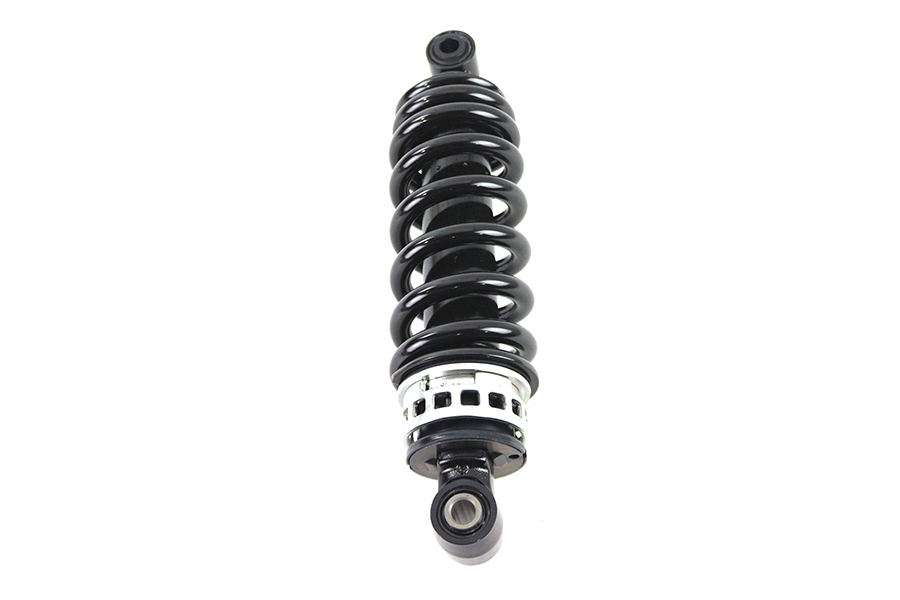
Note how the shock sits, and which way the adjuster or any remote line runs. With the rear supported, undo the mounting bolts per the manual and remove the unit by working it out along the route the manual shows.
Think of that spring as a loaded weapon. Without the correct compressor, it does not get separated from the shock. If your plan was to swap just the spring, take the unit to a shop that owns the right tool.
With the shock on the bench, look at both of its eyes and their bushings. Cracks, wear and movement are all signs the hardware should be replaced. Then check the frame and swingarm mount points, and the bolts themselves for bends or thread damage.
Refit and adjust
Work the new unit back in along that same route, watching that no wire or hose gets trapped. Fit its bolts by hand. Tighten to the shop-manual specification for your year with a torque wrench. Reinstall the parts you removed in reverse order, then refit the seat and check that it locks properly.
Now do the sag job over, since the numbers from the old shock no longer apply. Solo bobber riders can set it for their own weight and leave it.
Bring the bike down and bounce it. Check the side stand on level ground. Ride a short loop over your usual rough patch and honestly compare the feel. Then recheck the mounts with the wrench, and do it once more after your next long ride.
Mistakes that cost money
- Buying a shock for 'Street Bob' with no code and getting a Dyna part.
- Following forum advice written for the FXDB.
- Replacing the shock before checking sag on the old one.
- Going taller and never rechecking the side stand.
- Trying to swap the spring without a compressor.
When to stop
If the new shock will not bolt in without bending or forcing anything nearby, stop and check the listing against your code and year. It may be the wrong part.
Parts for this job
Check fitment for your own model and year before ordering — add your bike and we will flag what fits.
Other Harley how-to guides
This guide covers procedure and judgement. Torque figures, fluid capacities, gaps and tension settings are specific to your model and year and must come from the factory service manual for your motorcycle — we deliberately do not print numbers we cannot stand behind for your bike. Independent aftermarket retailer, not affiliated with Harley-Davidson, Inc.