 HarleyMotorcycleParts
Ultra Classic Primary: Read the Fluid, Then the Chain
Most used Ultra Classics arrive with a primary nobody has opened. The old fluid tells you what you are about to find.
The Ultra Classic is the two-up mile-eater: heavy, loaded with luggage and passenger, and very often sold used with tens of thousands of miles on it and a primary case that has never been opened. Before you buy parts, let the bike tell you what it needs. The rear drive is a belt and needs no oil; the primary chain, inside the left case and bathed in its own fluid, is where the miles hide. And the fluid comes out first.
Tools
- Service manual
- Clean drain pan
- Clean jar for a fluid sample
- Torch
- Primary locking tool or wedge
- Breaker bar and torque wrench
- Threadlocker
- New cover gasket or seal
- Correct primary fluid
Start with the drain plug
Get the bike level and warm, then drain the primary fluid into a clean pan. Primary fluid is separate from engine oil and transmission fluid; do not mix them up.
Pour a sample into a clean jar and hold it to the light. Dark fluid is common at high mileage. What matters is what is in it. A fine grey haze is wear you would expect. Visible flakes, slivers or a gritty feel between your fingers is something that has been eating itself.
Now look at the drain plug magnet. Metal flake there is one of the recognised signs of a worn primary. Note how much, wipe it clean, and you have a baseline for next time.
Era check
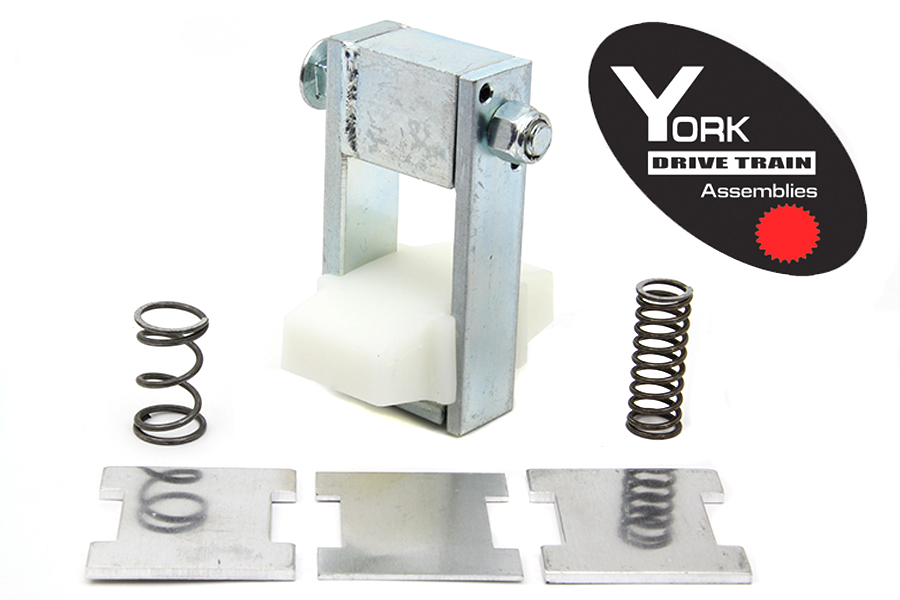
Up to 2006: MANUAL adjuster, a nylon-faced shoe under the lower run, set with a locknut.
2007-up: AUTOMATIC spring-loaded hydraulic tensioner, Twin Cam style. No routine adjustment; inspect the shoe and chain.
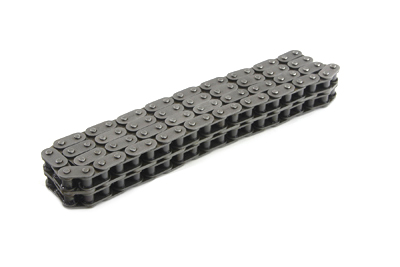
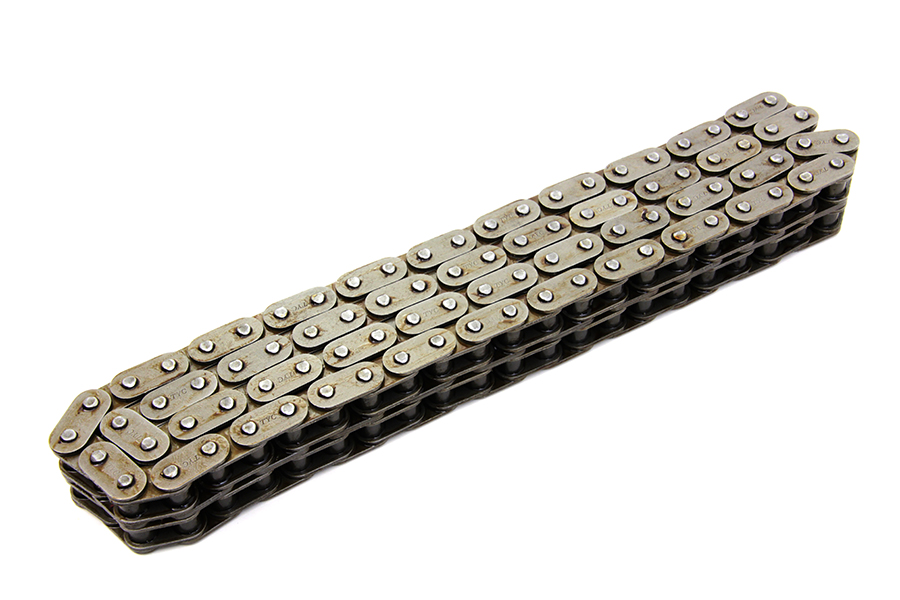
Our catalogue lists a 76-link chain for FLT 1979-2006 (and a 74-link for 1994-2006) and an 86-link for FLT 2007-up. Confirm against fitment for your year before ordering.
What a loaded dresser does to a primary
Carrying two people and luggage means the primary is pulling a lot of weight every time you leave a light. Over high mileage that shows as a grooved shoe, a stretched chain and sometimes jerky take-up as you feed the clutch out.
Listen at idle: a slap or rattle from the left side that changes when you pull the clutch lever is the classic primary noise. A clunk on start-up or switch-off on 2006-up bikes is more likely the compensator - related, but a separate diagnosis.
Checking slack on a manual-adjuster bike
Take off the chain inspection cover. The manual gives separate COLD and HOT free-play figures - use the right one for the engine's temperature. Since you just drained it warm, either wait for it to cool or use the hot figure.
Top gear, rotate the engine via the rear wheel and check several points. Adjust at the tightest. Loosen the locknut, move the shoe, re-lock, recheck. If the shoe is already at the end of its travel, the chain is done.
Checking a 2007-up bike
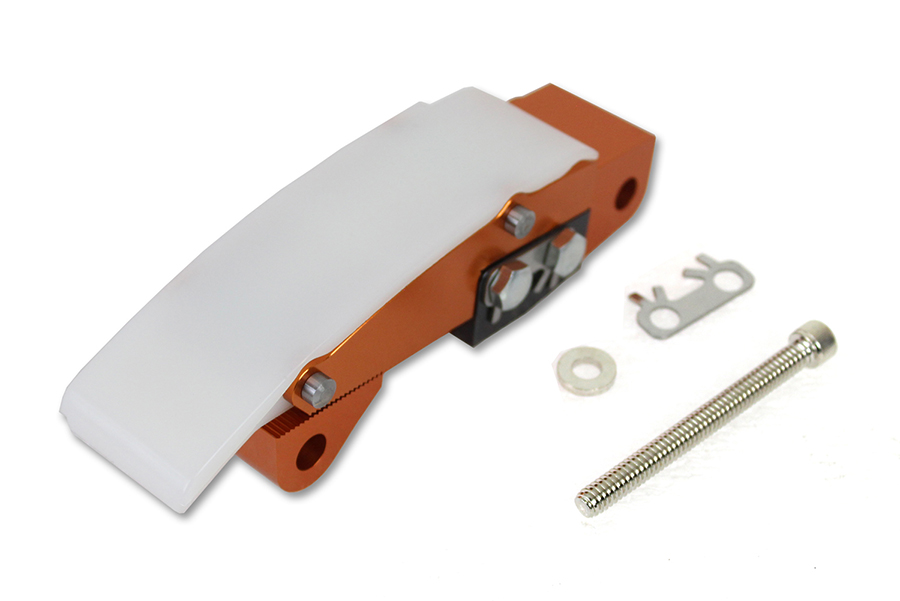
Shoe face and chain plates are the whole inspection. A shoe grooved deep or through, or chain plates rubbing bright, means replacement. A manual-adjuster kit is an option; our catalogue lists 18-8328 for FLT 2007-2016.
Replacement on a high-mile Ultra
Battery negative off. Fluid is already out. Remove the left floorboard and shifter linkage as required, then the outer primary cover. Expect the cover to be stuck to an old gasket; work it free evenly rather than prying on one edge.
Retract or retain the tensioner per the manual. Lock the drive with a sprocket locking tool or a wedge between sprockets and loosen the compensator nut and the clutch hub nut. Clutch hub nut: LEFT-HAND thread.
The chain is endless, so sprocket, chain and basket come off together. Watch for the alternator rotor's magnets behind the compensator - on a dirty high-mile primary they will also be coated in whatever metal has been circulating, so clean them before reassembly.
Buying a used Ultra? Check this before you pay
Ask the seller when the primary fluid was last changed. If the answer is a shrug, budget for at least a fluid change and an inspection, and possibly a chain, shoe and clutch basket.
On a test ride, pay attention at idle in neutral with the clutch lever in and out. Listen from the left side. Then feel the take-up as you pull away, solo and, if the seller allows, with luggage on. A smooth, progressive take-up on a high-mile Ultra is a good sign. A lurch is not.
Ask to see the primary drain plug if it is accessible. A plug caked in metal paste is a bargaining point. A clean one with a little grey fuzz is reassuring. And look at the outer primary cover gasket line for old weeps; a long-running leak means the fluid level may have been low for a while, and a primary run low on fluid wears faster.
None of that tells you everything, but it tells you more than the odometer does.
Rebuild, refill, re-adjust
Install the new assembly with threadlocker and torque from the manual. Set the slack or reset the tensioner. Fit a new gasket or seal (the manual says which), then refill with fresh primary fluid to the level the manual specifies.
Check clutch adjustment before the first ride. On a bike that has been neglected, it has probably drifted anyway.
Ride it alone first, not two-up. Listen at idle with the lever in and out, check the cover for weeps, and on a manual bike recheck slack cold.
Mistakes that cost money
- Throwing old fluid away without looking at it.
- Mixing up primary fluid, transmission fluid and engine oil.
- Using the cold slack figure on a just-drained warm engine.
- Leaving metal on the rotor magnets during reassembly.
- Making the first test ride a two-up trip.
When to stop
If the fluid is full of chunks rather than fine haze, stop and inspect everything in the primary before ordering. That much metal means more than a chain is worn, and loaded-up two-up bikes are the last place to discover a seizing primary.
Parts for this job
Check fitment for your own model and year before ordering — add your bike and we will flag what fits.
Other Harley how-to guides
This guide covers procedure and judgement. Torque figures, fluid capacities, gaps and tension settings are specific to your model and year and must come from the factory service manual for your motorcycle — we deliberately do not print numbers we cannot stand behind for your bike. Independent aftermarket retailer, not affiliated with Harley-Davidson, Inc.