 HarleyMotorcycleParts
Heritage Classic Primary Chain: Getting Past the Floorboard and Into the Case
On a Heritage the floorboard and heel-toe shifter guard the primary. How to get them out of the way, then check or replace the chain behind them.
People search for how to change the chain on a Heritage and expect a sprocket at the back wheel. There is none: the Heritage drives its rear wheel with a belt. The chain is the primary, sealed inside the case on the left, running engine to clutch in its own fluid. The saddlebags are no obstacle for this job. The floorboard and the heel-toe shifter are, because they sit right over the cover you need off.
Tools
- Service manual for your year
- Paint pen or tape for marking the shifter
- Sockets and Allen keys for the floorboard and linkage
- Drain pan with a low profile
- Primary locking tool
- Torque wrench
- Specified threadlocker
- New primary gasket or seal
- Primary fluid per the manual
Which Heritage is in your garage
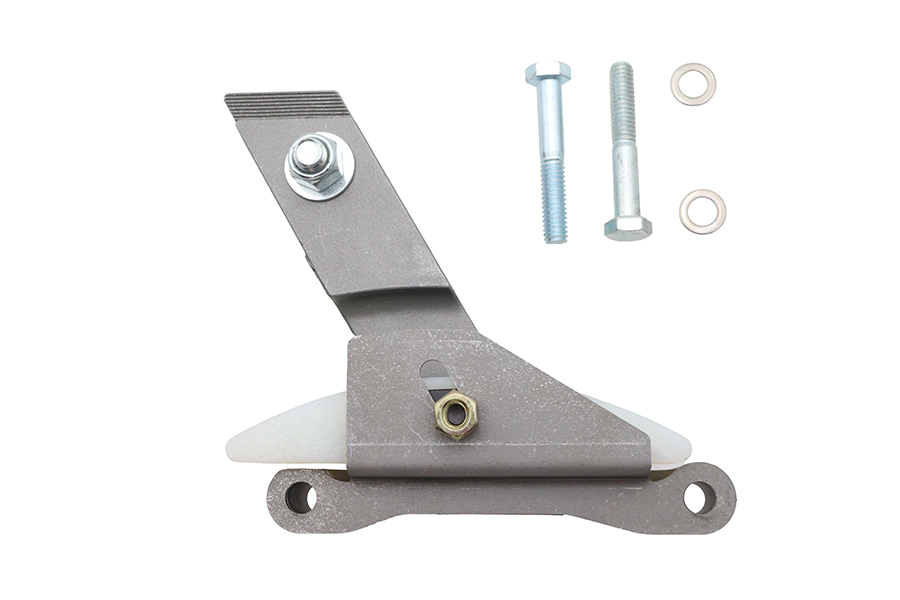
Check the year first. A Heritage through 2006 has a manual adjuster: a nylon-faced shoe under the bottom run of the chain, set with a locknut. A 2007-2017 Twin Cam Heritage has an automatic hydraulic tensioner. A 2018-up M8 Heritage is automatic too.
Older Heritages are usually the ones where a manual adjuster is still in service, and very often they are the bikes whose shoe has simply never been checked. If yours is pre-2007 and the previous owner kept no records, assume nobody has set it.
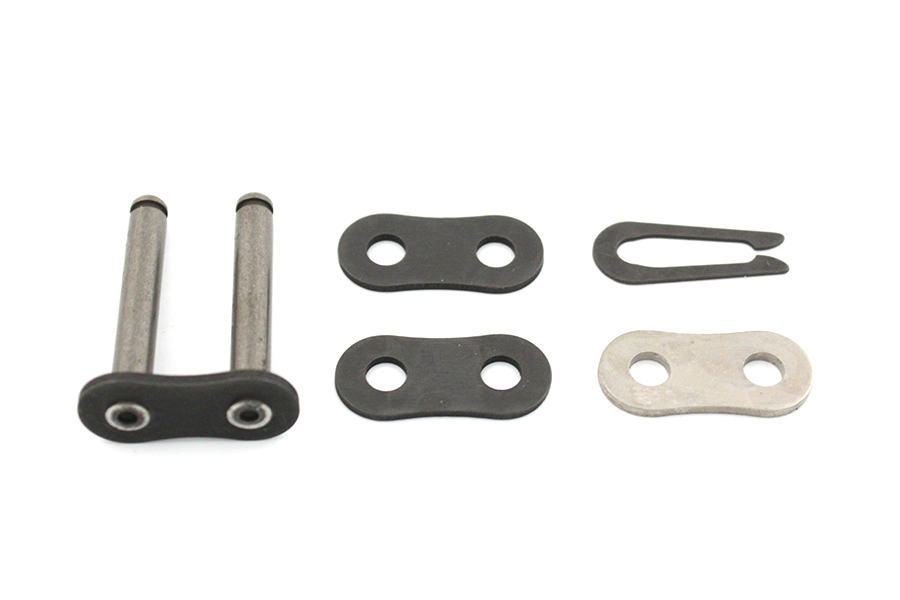
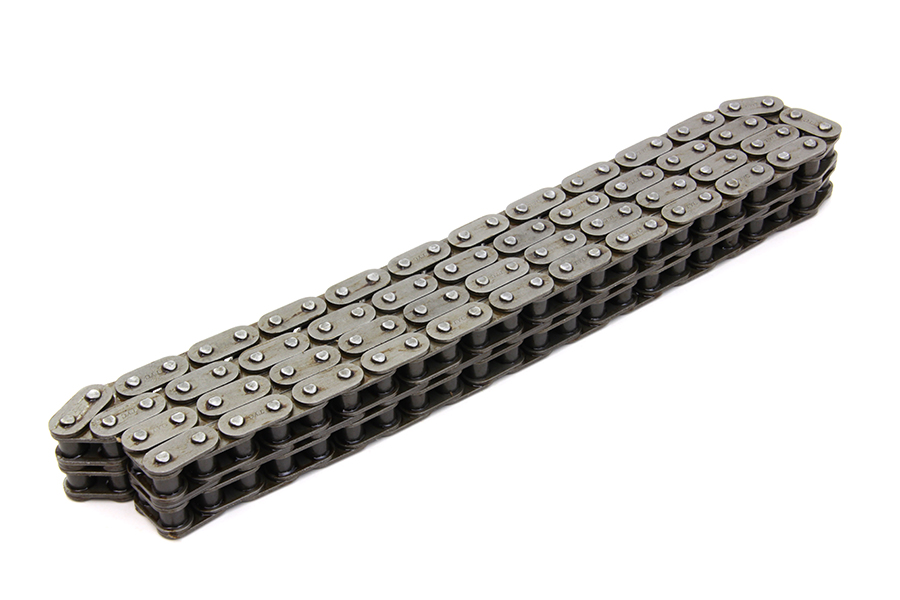
Our catalogue lists an 82-link chain for FXST/FLST 1984-2006 and a 92-link for FLST/FXST 2007-up. Confirm against your manual before ordering.
Clearing the left side
Before you touch the shifter, mark where it sits. A dab of paint pen across the shift lever and its shaft, or a strip of tape and a photo, saves you from refitting it a spline off and spending an evening chasing a gear lever that sits too high.
Remove the left floorboard and the shifter linkage as your manual describes. The heel-toe shifter has two pedals and a linkage rod, and it is easy to lose track of which spacer went where. Bag and label the hardware as it comes off.
With the floorboard gone, the primary cover and its inspection cover are finally in reach. That is the whole reason this job feels longer on a Heritage than on a forward-control Softail.
Look at the board mounts while they are exposed. The floorboard carries your weight every time you stop, and its brackets pick up road dirt and corrosion. When everything goes back, the board hardware goes back to the manual's torque, because a board that shifts under your boot at a junction is not a cosmetic fault.
Signs it is time
Listen at idle. A slap from the left that changes when the clutch lever comes in is the textbook symptom of a slack chain or a shoe that has stopped doing its job. Clunky, jerky take-up when pulling away points the same direction.
At fluid-change time, look at the drain plug magnet. A fine grey paste is normal wear. Visible flakes are a warning. A shoe grooved through its face, seen once the cover is off, is the final word.
On 2006-up bikes a clunk at start-up or shutdown may be the compensator, a separate fault that lives in the same case. Note it, but do not assume a new chain cures it.
Setting slack on a manual-adjuster Heritage
Through the chain inspection cover, check free play against the COLD or HOT figure from the manual, whichever matches the engine. They are not the same figure, and mixing them up gives you a chain that is too tight once it warms.
Select top gear and turn the rear wheel to move the engine round. Check at several positions and find the TIGHTEST spot; that is where you set it. Loosen the adjuster locknut, slide the shoe, re-lock, and measure again.
If the shoe has no adjustment left and the slack is still out of spec, the chain has stretched beyond what the adjuster can take up. Replacement is the only fix.
Automatic-tensioner Heritages
From 2007 there is no routine adjustment. You inspect: shoe wear, chain condition and the state of the fluid. A worn shoe on a high-mile bike is a parts job, not a tightening job.
Some owners convert to a manual adjuster to get control back. Our catalogue lists 18-8328 for FXST/FLST 2007-2017 and 18-1763, an Ultima M8 adjuster, for FXST/FLST 2018-up. Fit one and you commit to periodic slack checks for as long as you own the bike.
Replacement on a Heritage
Battery negative off. Drain the primary fluid. With the floorboard and linkage already out, remove the outer primary cover; a new gasket or seal goes back on, so check which type the manual calls for.
Release or retract the tensioner, using the retaining method in the manual on automatic bikes. Lock the primary with a locking tool or a wedge between the sprockets and break loose the compensator nut and the clutch hub nut. That clutch hub nut is LEFT-HAND thread.
Because the stock chain is endless, the engine sprocket, chain and clutch basket come away together. Keep an eye on the alternator rotor behind the compensator: its magnets pull small steel parts in and hide them.
Refit as an assembly, apply threadlocker and torque both nuts to the manual's values, set the adjuster at the tight spot or reset the auto tensioner, and close the cover. Fill with the specified primary fluid to the manual's level. It is not engine oil and not gearbox fluid.
Refitting the controls and testing
Put the shifter back on your paint mark, refit the linkage and floorboard, and check that both heel and toe pedals reach comfortably before you ride. Sit on the bike in your riding boots and work through the gears with the engine off and the rear wheel turning by hand; a heel pedal that fouls the board shows up now, not at the first stop sign. Check clutch adjustment, because the primary job disturbs it.
Ride it through every gear, then check for leaks. On a manual-adjuster bike, recheck slack cold at the tightest spot after the first few rides.
A Heritage with no history
Many Heritages change hands as weekend bikes with low miles and long lives, and a low odometer can hide a primary that has sat on old fluid for years. If the paperwork does not show a primary fluid change, do one now and read the drain plug magnet, whatever the mileage says.
Start a simple record: date, mileage, what the slack measured at the tight spot, what you set it to, and the state of the shoe. On a manual-adjuster bike that list shows you how quickly the chain is stretching, and it is the first thing a future buyer of your Heritage will want to see.
Mistakes that cost money
- Pulling the shifter without marking its position on the shaft.
- Mixing up floorboard and linkage spacers because nothing was bagged.
- Using the hot free-play figure on a cold engine, or the reverse.
- Loosening the clutch hub nut the wrong way: it is left-hand thread.
- Assuming a compensator clunk will be fixed by a new chain.
When to stop
If the shifter will not return to a sensible position, or the gear changes feel vague after reassembly, do not ride it. A heel-toe linkage refitted wrong can leave you between gears in traffic.
Parts for this job
Check fitment for your own model and year before ordering — add your bike and we will flag what fits.
Other Harley how-to guides
This guide covers procedure and judgement. Torque figures, fluid capacities, gaps and tension settings are specific to your model and year and must come from the factory service manual for your motorcycle — we deliberately do not print numbers we cannot stand behind for your bike. Independent aftermarket retailer, not affiliated with Harley-Davidson, Inc.