 HarleyMotorcycleParts
Changing a Road Glide (FLTR) Fuel Line Around That Fairing
The sharknose does not touch the fitting. It just gets in your way at the front of the tank.
Search this job and you will read that a Road Glide is a special case because of its fairing. At the fitting, it is not. A frame-mounted fairing changes nothing about how the line connects. All it changes is what sits in front of the tank and blocks your reach. That difference between the mechanism and the access is the whole of what a Road Glide owner needs to know.
Tools
- Bright torch that cannot spark
- Disconnect tool for the fitting, where needed
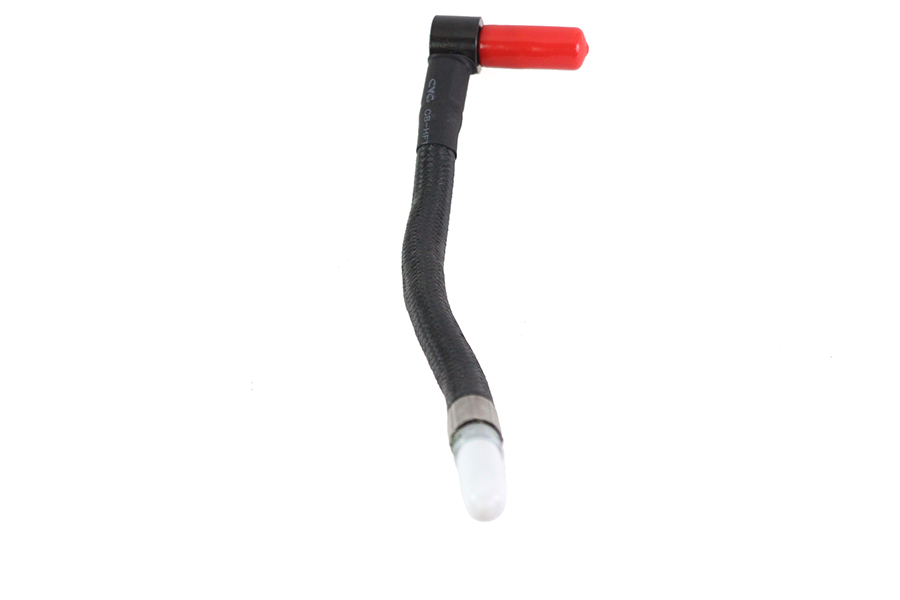
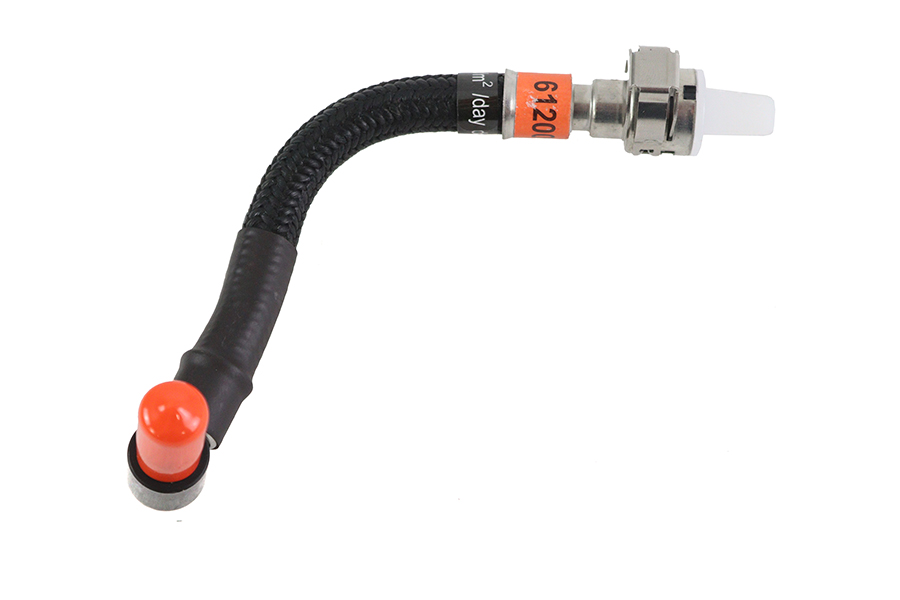
- Year-correct line plus O-rings
- Sealed container for gasoline
- Dry-powder or similar extinguisher rated for fuel
- Service manual
Fuel supply type on your bike
Most Road Glides you will meet are injected, and any model after 2006 certainly is, but Touring bikes through 2006 could be carb or EFI by trim. Look for a petcock and a hose that drops to a carburettor. No petcock, a sliding-sleeve fitting and a short pump hum at key-on add up to EFI, and that is what the main procedure here covers.
If yours is the gravity kind, read the short section near the end. It is a much milder job, with a plain hose and a real clamp.
Plan your reach from the front
Stand at the left of the bike, then the right, with the torch, and find what stands between your hand and the tank's front. On your bike that might be wiring, a loom clip or trim. Photograph everything you intend to move, and label connectors with tape. The manual lists what has to come off for your year, and whether the tank must be raised.
Resist the urge to force a route past the fairing brackets with a long screwdriver. Slipping tools near a fitting are how sleeves crack and ports score.
Make the workspace boring
A boring workspace is a safe one. That means an engine you could rest your palm on, plenty of moving outdoor air, and no flame, spark, smoking or running heater anywhere around. Hang a fuel-rated extinguisher where you can grab it without passing the bike, and have a closed gasoline-safe container rather than a drain pan you might kick over.
Sequence for the injected line
Step one is pressure. Purge the line using your service manual's method before loosening anything. Typically the pump fuse or connector comes out, the engine runs or cranks until it stalls, and that circuit stays open until the very end. If it fired up, wait for it to cool.
Step two is the battery. Negative cable off and tucked away, so no stray spark and no pump surprise.
Step three is access. Move whatever your plan identified, and lift the tank if your manual requires it, supporting it on something solid with the paint protected.
Step four is the release. Rag underneath. Push the fitting in slightly, slide the sleeve, draw the line off, all in the way your manual shows for your year. Stuff nothing into the open port except a proper plug.
Step five is the old line. Note its path and retainers on the way out, and detach the engine end as directed. Then compare it with the replacement. FLT lines are split by model year in our catalogue, so similar shapes from separate spans may not be interchangeable.
Step six is sealing. New O-rings, every time, at every fitting you opened. They do not reseal a second time, and an old flattened one is the classic Road Glide weep at the front of the tank.
Step seven is seating. Press until locked, then pull. A fitting that is merely resting in place can hold at first and let go under pressure, so be rough with this check. Route the line back along its original path, retainers on, no contact with heat.
One thing not to try at any step: hose clamped over a split. That kind of patch belongs only on a gravity system. On a pressure line it can blow off, right beside a hot engine.
If you have the carburettor version
Shut the petcock, take the battery negative off, and let the old hose drain into the container as you pull it. Fit fuel-rated, ethanol-tolerant hose with proper clamps, clear of heat and free of kinks, then replace any disturbed seal. Open the petcock and study every joint before starting.
Putting the loom back before you test
Whatever you shifted to get past the fairing now has to return to exactly where it was. Work from your photos, not memory. Run a finger along the new line from end to end, feeling for any wire lying across it or any bracket edge touching it.
A loom that sits on a fuel line will rub through one or the other over thousands of miles. Refit each clip you took off, then count the taped connectors you labelled, because a single forgotten plug can cost you an hour of confused fault-finding once the pump circuit is live.
Checking your work with the key
Fuse or connector back in, battery last. Key on, no starter. Listen for that short pump run, and put your torch on the fitting behind the fairing bracket, the one you can barely see, because that is the one most likely to be ignored. A small mirror helps. Do several key cycles. Only with everything dry should it be started, then checked at idle and warm. In-tank lines belong to our Fuel Filter and Fuel System Service guide.
Mistakes that cost money
- Removing the fairing because a forum said to, when your manual does not ask for it.
- Forcing a screwdriver past the fairing brackets to reach the sleeve.
- Leaving the hidden fitting out of the leak check.
- Forgetting a loom clip, then finding the wiring resting on the new line.
- Treating key-on silence as proof of no leak, without looking.
When to stop
Give it to a shop if you cannot see or reach the fitting well enough to inspect it, if the tank port is scored, or if you find fuel anywhere near the wiring behind the fairing.
Parts for this job
Check fitment for your own model and year before ordering — add your bike and we will flag what fits.
Other Harley how-to guides
This guide covers procedure and judgement. Torque figures, fluid capacities, gaps and tension settings are specific to your model and year and must come from the factory service manual for your motorcycle — we deliberately do not print numbers we cannot stand behind for your bike. Independent aftermarket retailer, not affiliated with Harley-Davidson, Inc.