 HarleyMotorcycleParts
Dyna Low Rider (FXDL) Fuel Line, Carb or EFI
Advice for one version of this bike can be dangerous on the other, so check first.
A rider who says 'just change the hose, it took ten minutes' and one who says 'never touch it without purging pressure' may both own a Dyna Low Rider, and they may both be right. This model exists in carburetted and injected forms, and advice swapped online rarely says which. Following the wrong person is a real hazard. So everything here depends on one short check.
Tools
- Good light for identifying your system
- For carb: ethanol-tolerant fuel hose, proper clamps
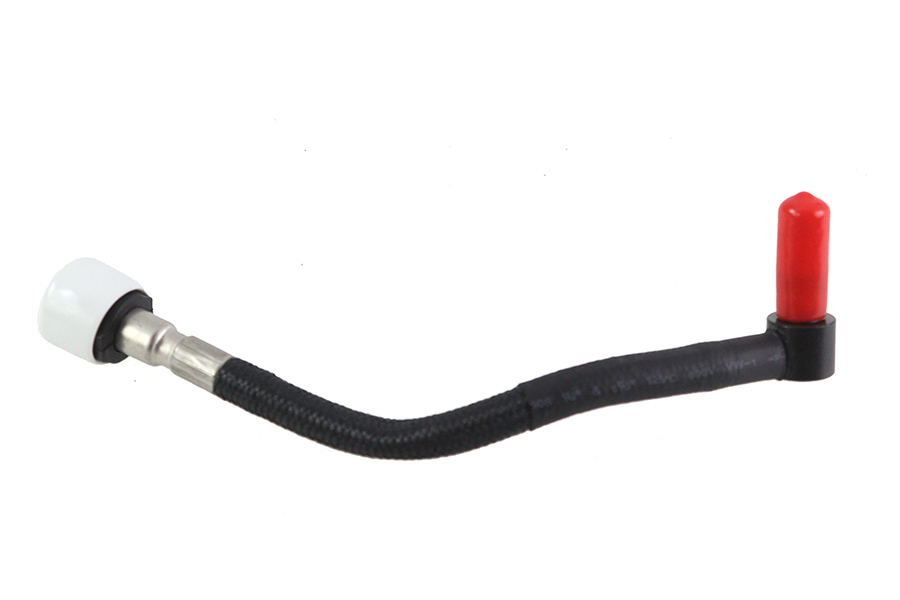
- For EFI: FXD line, O-rings, release tool if needed
- Sealable fuel container
- Extinguisher approved for flammable liquids
- Service manual
The one short check
Look at the underside of the tank on the side where the fuel feed leaves it. See a petcock with a little lever and a hose? You have the gravity-fed bike. See a formed line with a sliding-sleeve connector? You have an in-tank pump.
Now confirm at the far end. A carburettor means gravity feed, and a throttle body means pressure. Finally turn the key and listen for a pump's short run. Three clues agreeing is what you want.
Year is a guide, not proof. Dyna carb bikes ran through 2006, our EFI fit starts at 2004, and the years in between call for looking at the actual bike.
Both versions share these precautions
Gravity or pressure, your hazard is the same liquid. Wait for a dead-cold engine. Get a real flow of air through your workspace, or go outside. Remove all flames and spark sources, then think again about what you forgot, such as a freezer or heater kicking on. Set out a sealable fuel container and an extinguisher approved for flammable liquids before you start, because you will not have time to find them afterwards.
Version A: gravity feed
Turn the petcock off and disconnect the battery negative. There is no pressure to relieve, though the hose still holds fuel.
Hold the container below and loosen the clamp at the carb end. Slip the hose off, let it run out, then take off the other end.
Fit new fuel-rated hose that tolerates ethanol. Its length should be just right, with no kinks and no contact with heat. Fit proper clamps, not an old pair that you salvaged. If you disturb any O-ring in the process, renew it.
If an inline filter sits in that hose, note its flow arrow when you take it off. Our Fuel Filter and Fuel System Service guide has the details.
Open the petcock and inspect for a few minutes, engine stopped. Then start and recheck.
When the fuel will not stop running
A petcock that has been shut should stop the flow within moments, once the hose has emptied. If it keeps running, the petcock is not sealing, and you now have an open tank with no way to shut it off. Push the hose back on or plug it, and keep the container beneath.
Do not leave it like that. The tank will need draining into your sealed container in the way your manual describes, and the petcock needs repair or replacement, which is outside this guide. Finish the hose afterwards, once a working shutoff exists.
Version B: pressure feed
Do the purge from your service manual as the opening move. The outline is familiar: pump fuse or connector out, engine run or cranked to a stop, pump unplugged and left that way. Only then remove the battery negative, and only after any heat from running has gone do you put your hands near the engine.
Check your replacement against the FXD 2004-2017 fit, then take photographs of how the old line runs. Remove anything the manual says is in the way. Exhaust may crowd one side.
Rag under the connector. Push, slide the sleeve, pull, per your manual. Plug the opening immediately.
Unclip and remove the line. Hold it next to the new one to check that the shape matches.
Seal it with new O-rings, as the old ones are single-use and are normally the thing that leaks. Press each fitting until locked. Pull to prove it. Clip the line back on its path.
Key on with the pump reconnected and the battery back on last. No cranking yet. Let the pump run, then stop, and look at each joint. Do this over several cycles. Dry joints mean you may start up and check at idle, then warm.
The rule that separates A from B
Hose with a clamp is right for Version A and wrong for Version B. It is that simple, and the reason is pressure. A clamp on low-pressure gravity feed is proper practice. A clamp on an injected line can let go, spraying fuel on a hot engine. Do not take a Version A habit to a Version B bike, whoever suggests it.
Equally, do not get careless on Version A because it is low pressure. A gravity line leaks continuously if the petcock stays open, right above the hot parts, until the tank has emptied.
Mistakes that cost money
- Following advice without knowing which version the writer rode.
- Going by the year alone in the overlap years.
- Reusing salvaged clamps on a new hose.
- Confusing this bike with the Softail Low Rider when buying.
- Treating low pressure as no risk.
When to stop
Hand it to a shop if the three identification clues disagree, if the petcock weeps, if a connector will not release or lock, or if the fuel smell survives your repair.
Parts for this job
Check fitment for your own model and year before ordering — add your bike and we will flag what fits.
Other Harley how-to guides
This guide covers procedure and judgement. Torque figures, fluid capacities, gaps and tension settings are specific to your model and year and must come from the factory service manual for your motorcycle — we deliberately do not print numbers we cannot stand behind for your bike. Independent aftermarket retailer, not affiliated with Harley-Davidson, Inc.